Leaderboard
-

dvderlm
Club_Member24Points5355Posts -

Pete1
Small Trader22Points651Posts -

nige8021
Club Member18Points12179Posts -

mr brightside
Forum User17Points178Posts
Popular Content
Showing content with the highest reputation since 11/03/23 in Posts
-
 4 pointsEngine bay is smoothed and AFH engine swaped on twin webersl 40's
 4 points
-
 Dear ClubPolo Members, Reflecting on our journey, after over 20 years of existence, we faced uncertainty about the fate of our beloved site. There were moments when the possibility of closure loomed, leaving us and our community in suspense. However, thanks to the unwavering support of our dedicated members and the commitment of our team, we are thrilled to announce that we've managed to keep the site alive and thriving for the foreseeable future. This milestone is a testament to the resilience and enduring spirit of our community. We deeply appreciate the continued support, and we look forward to many more years of shared experiences and growth together. In response to the growing interest from individuals eager to support our site, many have expressed their desire to take out a subscription. We appreciate the enthusiasm and commitment from our community members, and we're delighted to offer various subscription plans, including the newly introduced biannual option, to cater to diverse preferences. Your support plays a vital role in maintaining and enhancing our platform, ensuring an enriched experience for all members. Starting 11th Feburary 2024, we're implementing a modest price increase. With this, we'll also be introducing a new biannual plan. Enjoy the benefits of this 6-month subscription, start at £5 every 6 months after the initial subscription period. Additionally, our Annual Plan will now renew at £8 every 1 year after the initial subscription period, but we're pleased to offer you a £3 discount on the regular yearly price, making the Annual Plan an even better value. By contributing to our community, not only will you enjoy the benefits of membership, but you'll also experience that heart warming sensation of knowing you're actively supporting the growth and maintenance of our site. As a community-driven forum, our club incurs various expenses to ensure the smooth operation of our website. These expenses include web hosting, servers, and software licences, all of which are crucial for the day-to-day functioning of our platform. Thank you for being a valuable part of our community! Sincerely, ClubPolo Staff4 points
-
Anyone else think this reads very spammy as a first post? Just lacks a link to the wonder product to be completely obvious.3 points
-
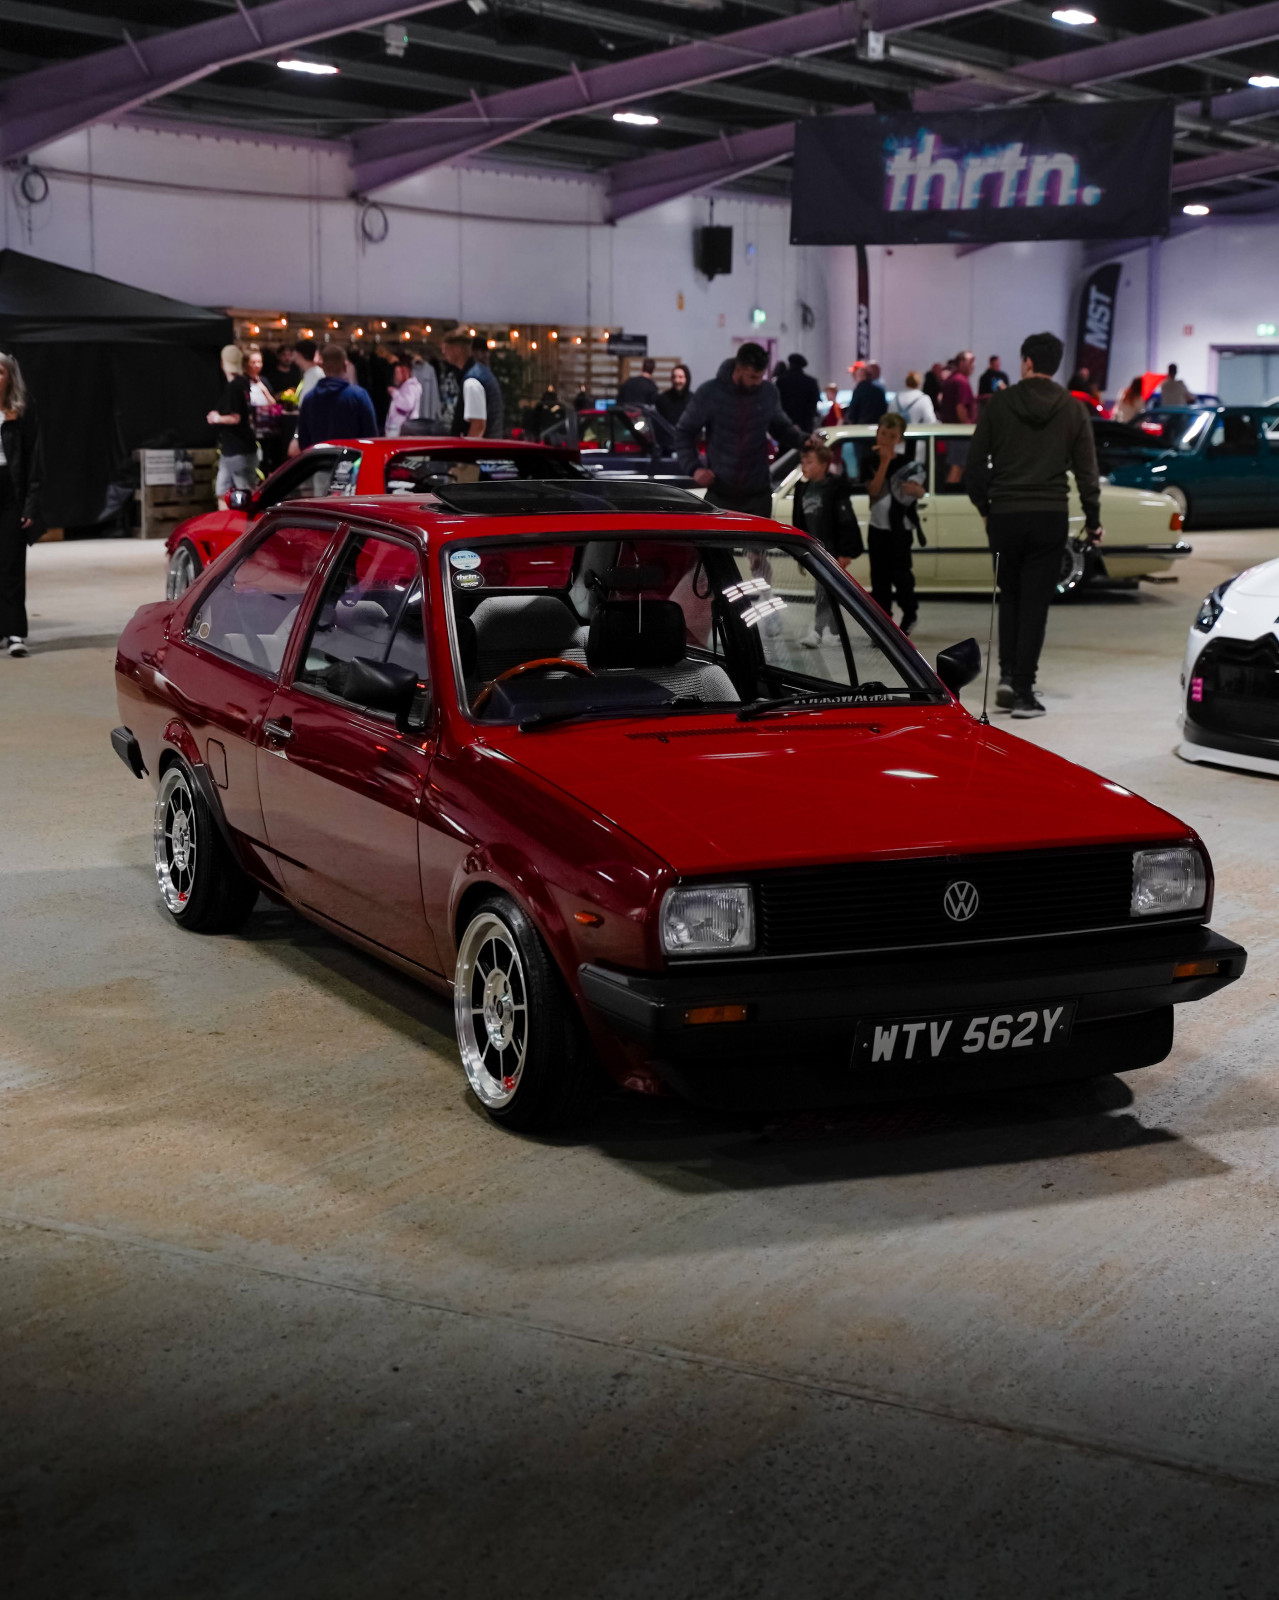
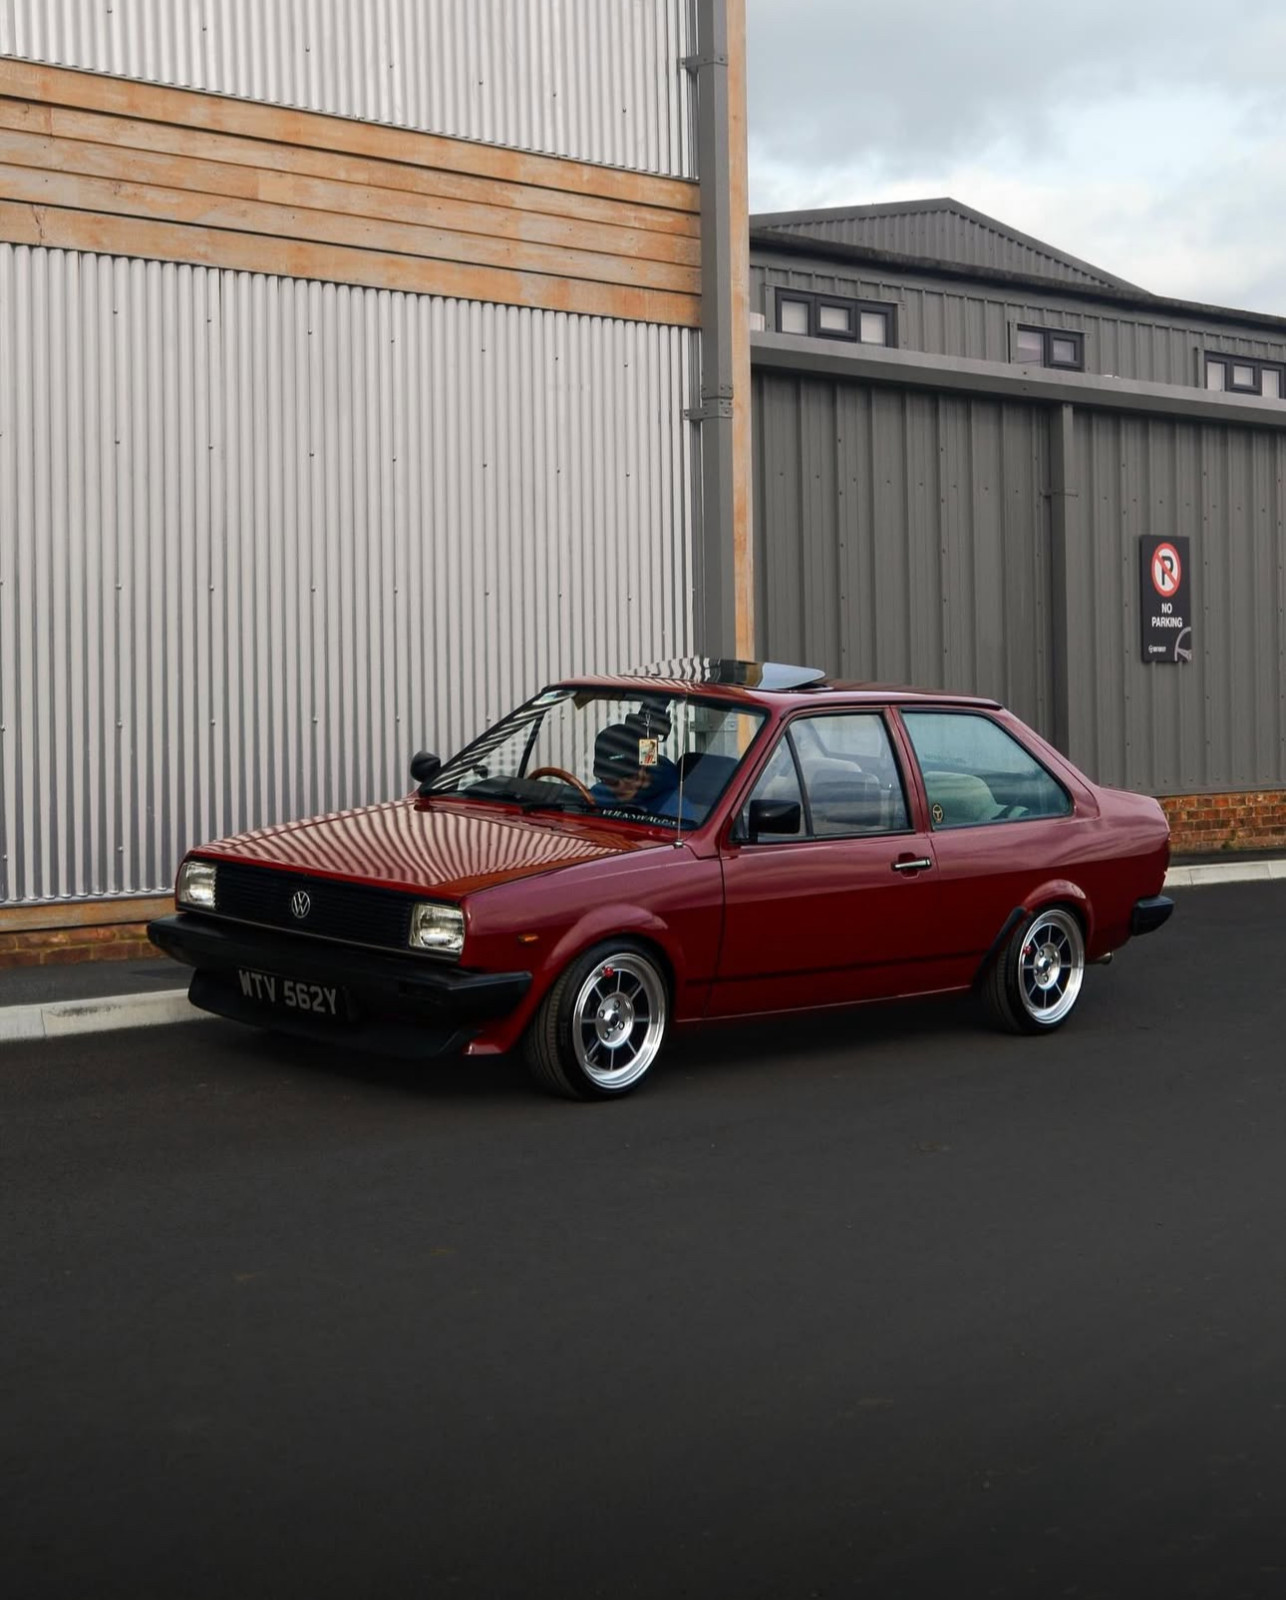
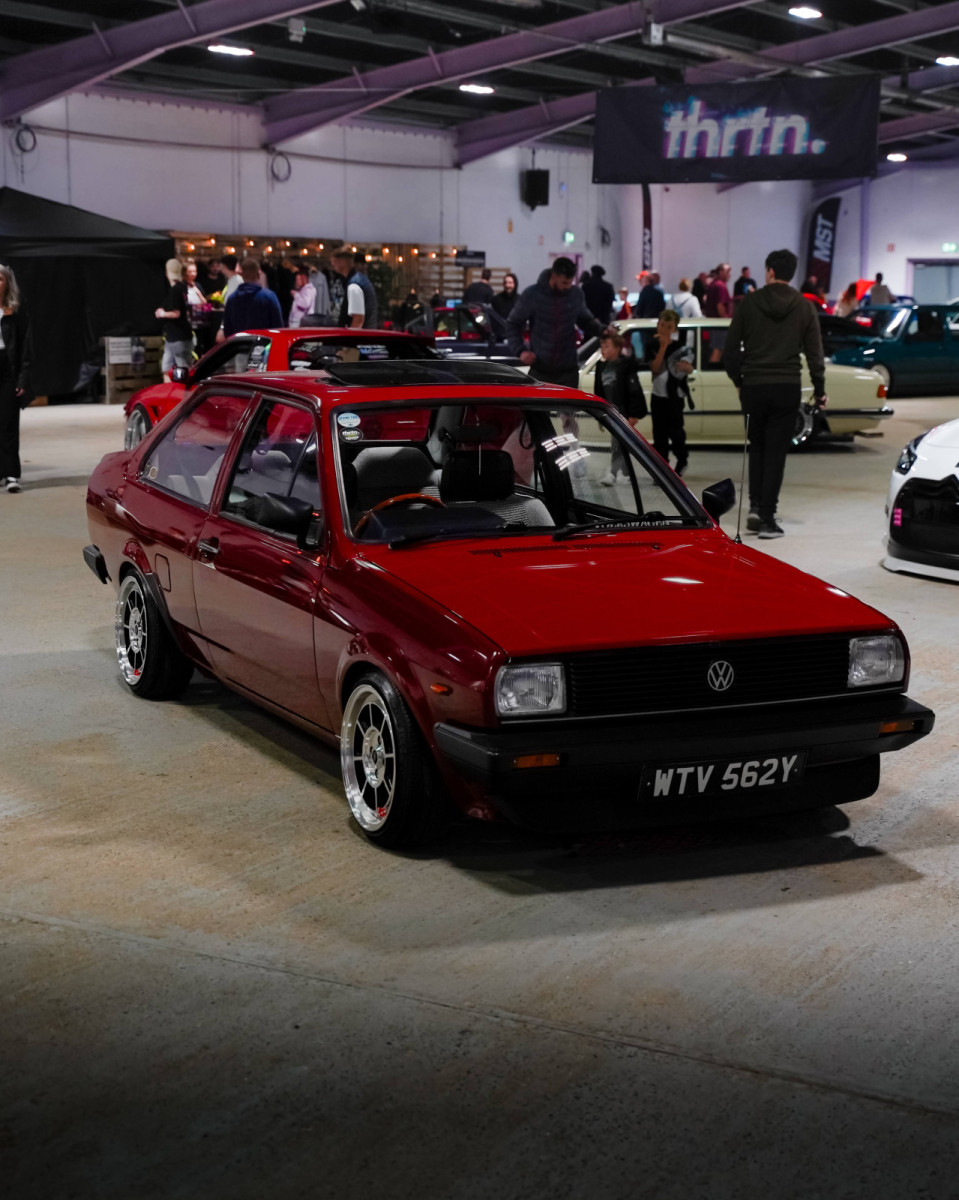
 Hey everyone, just joined the group and wanted to share my Mk2 Polo Saloon project. This is my 1982 VW Polo Classic C in Gambia Red. It’s a pretty rare one - only a handful of this specific C trim level are still registered in the UK, with just 6 currently on the road according to the latest figures. It’s still running the original 1.1L engine and 4-speed gearbox, but the bay’s been fully cleaned and refreshed with loads of new OEM parts. Only non-original bit under the bonnet is a GPI stainless radiator, adapted to work with the original fan and housing so it still keeps that factory look. The car sits on TA Technix coilovers, 15” Rota BM8s with stretched Nankangs and 10mm MTEC spacers, plus a custom stainless exhaust and a Mk1 Golf GTI duckbill splitter up front. Interior-wise, it’s mostly original with some thoughtful upgrades: Fully sound-deadened using 3mm sound deadening sheets (no added insulation) Hidden Pioneer 4” oval speaker under a shaved OEM grille Dash-mounted Pioneer tweeters A pair of 80s Hitachi SX-103 parcel shelf speakers, which I plan to gut and rebuild with modern Pioneer internals to keep the retro look but with modern sound quality Other touches include a Kamei golf ball gear knob, Wolfsburg drilled window winders, wooden lock pins, and a Momo Heritage wooden steering wheel to finish it off. It’s also had a solid mechanical refresh: Febi Bilstein control arms, rear drums, and wheel bearings Brembo front discs Polybush castor-correcting ARB mounts Next up is a top-end refresh; head gasket, timing belt, water pump, and head skim/rebuild to keep things reliable for the long run. It gets a lot of love wherever it goes, and I’m enjoying slowly building it into something unique while keeping the original spirit intact. Feel free to follow my journey on Instagram: @l3owt_ Looking forward to seeing what everyone else is building!
 3 points
-
 3 pointsOver a year later, and a few thousand kms without mishap. She's got a home-made roofrack and a new backbox: Not really getting used as much as I'd like but then I have too many cars... Robin3 points
-
The coil packs are normally pretty reliable there are resistance checks you can do if you search on here I know I’ve posted the checks a few times but unfortunately my laptop with the information is currently not working The other thing you could check is the sensor grounds mostly Brown/Yellow wires that go to a bolt on the cylinder head2 points
-
The running and then cutting out sounds like the G28 crankshaft sensor if the camshaft sensor fails the ECU uses the crankshaft sensor as a backup but if that fails or gives erroneous data then the ECU will shut the engine down the only other sensor that would cause a shutdown is the knock sensor You can see the sensor outputs on VCDS in the measuring blocks and also in the Vscope display2 points
-
 Definitely, yes, but I'm not a mod any more, so I'll just leave it at explaining a better option than the product in the spam.2 points
-
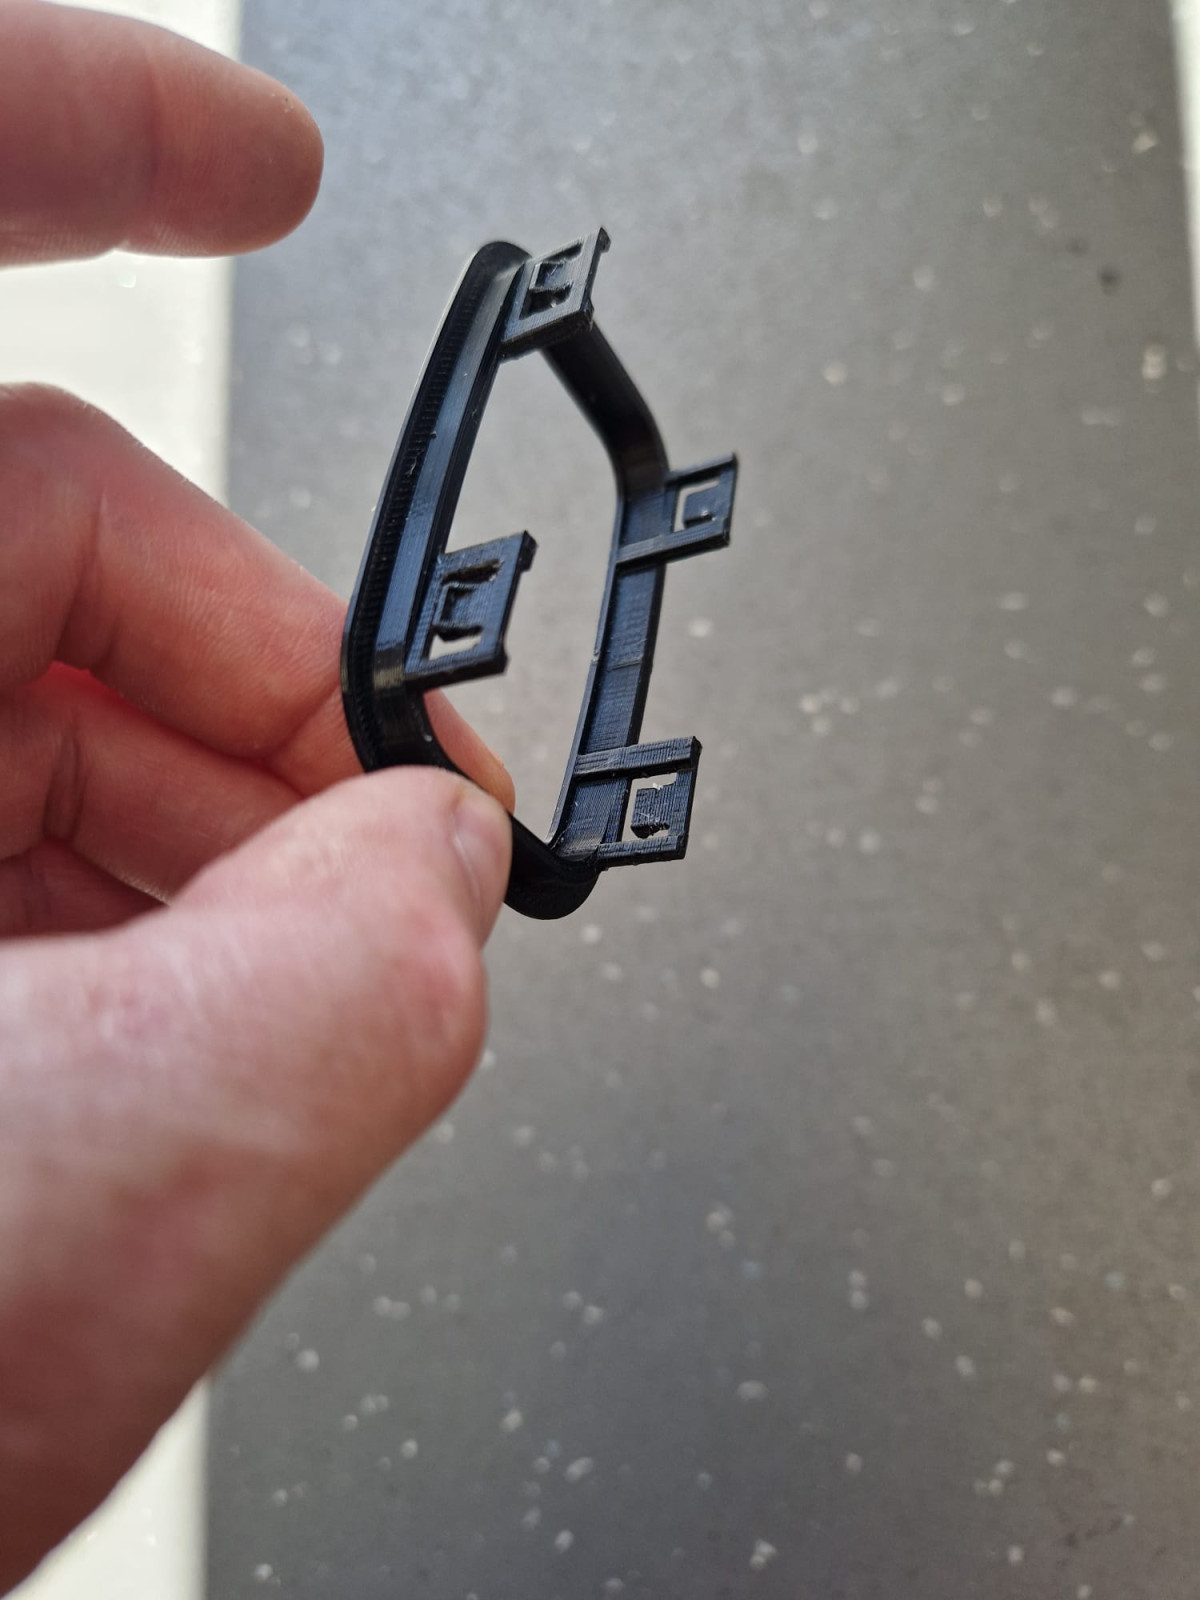
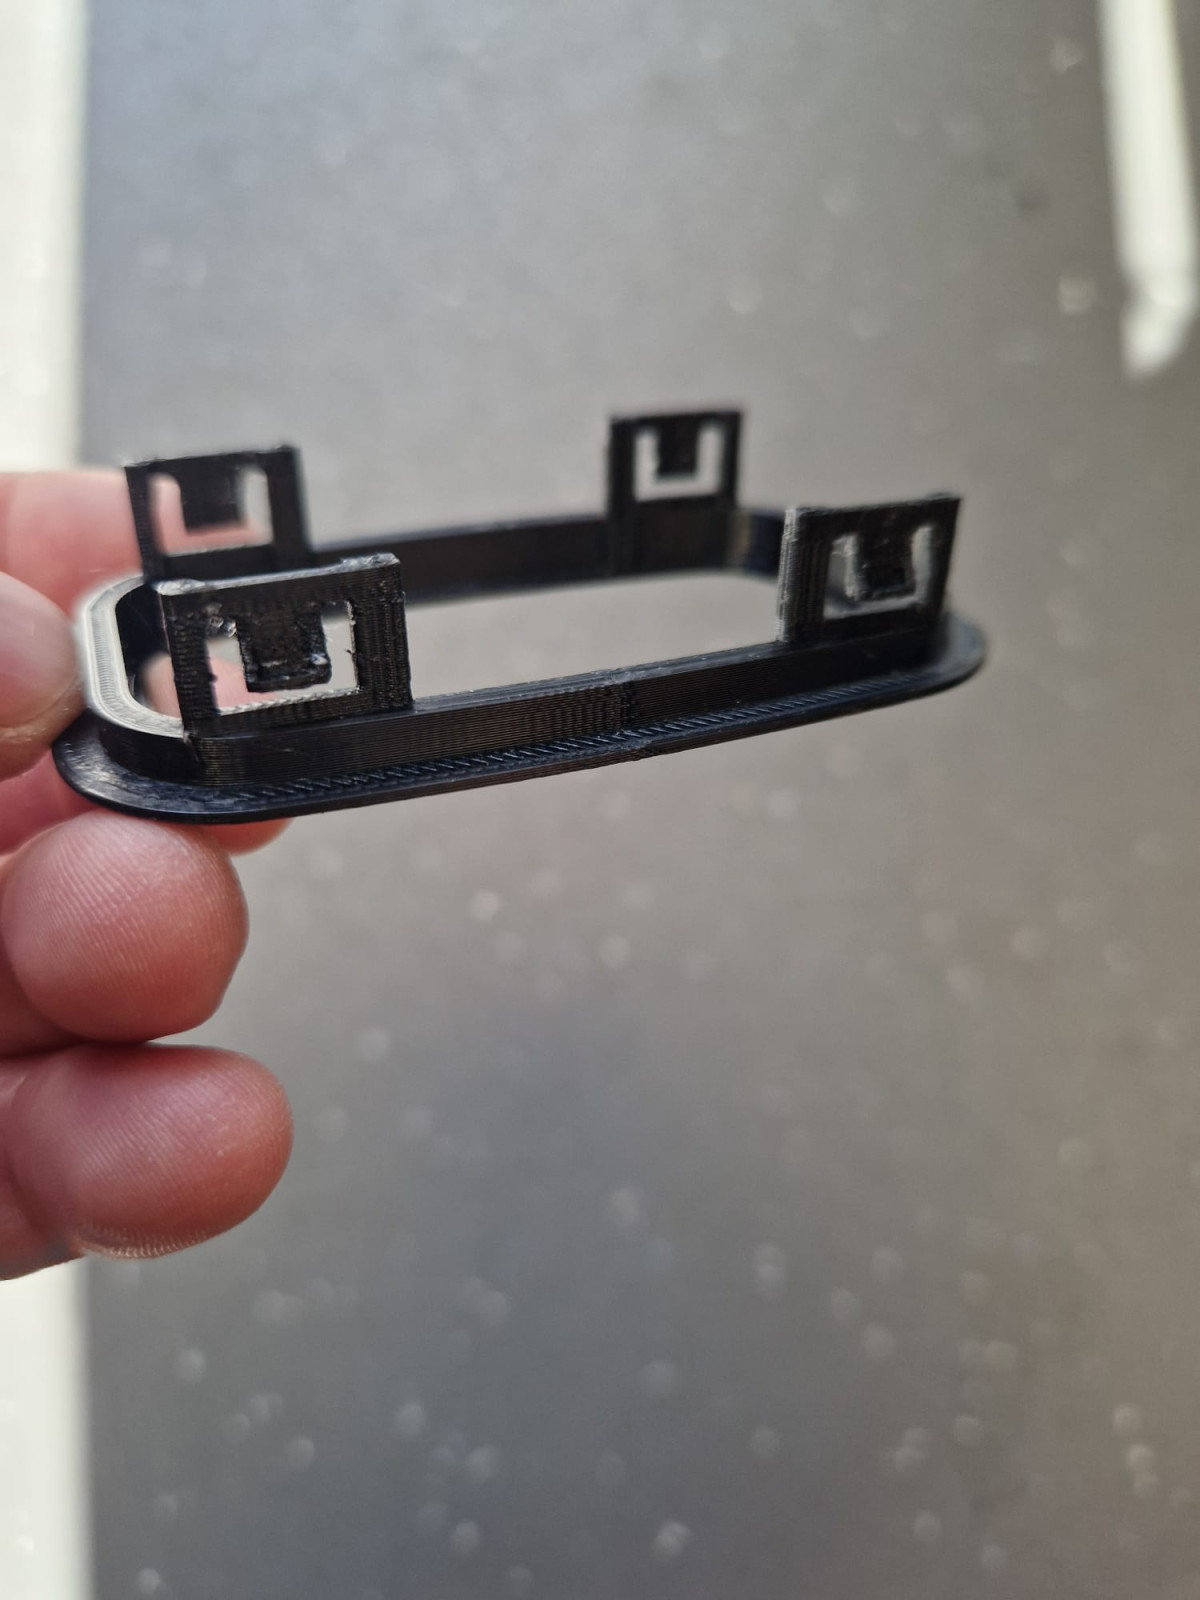
2 pointsIt's an ECU bracket, on a car that doesn't have an ECU. VW were planning ahead.2 points
-
 2 pointsUPDATE: I spent an evening sanding the crankshaft and conrod journals, getting them to a state where they weren't smooth to the touch but they were operationally smooth. Plastigauge read that they were still within clearance spec, and an old-timer on a youtube video said not to worry too much about indents running around the bearings, as oil would simply fill those little gaps (not ideal, but not a show-stopper). So I reassembled everything, and the car has been running smoothly for a week now. This weekend, I'm going to drop the sump and verify the state of the oil, conrod/crankshaft play, and the status of the bearings. Looks like what VAG said was impossible, not giving any information in the service manual for bearing replacement saying that as soon as you even undo the crankshaft bolts the engine block has to be replaced, is in fact doable—at least in the short term, as I now need to monitor for longevity—but so far so good!2 points
-
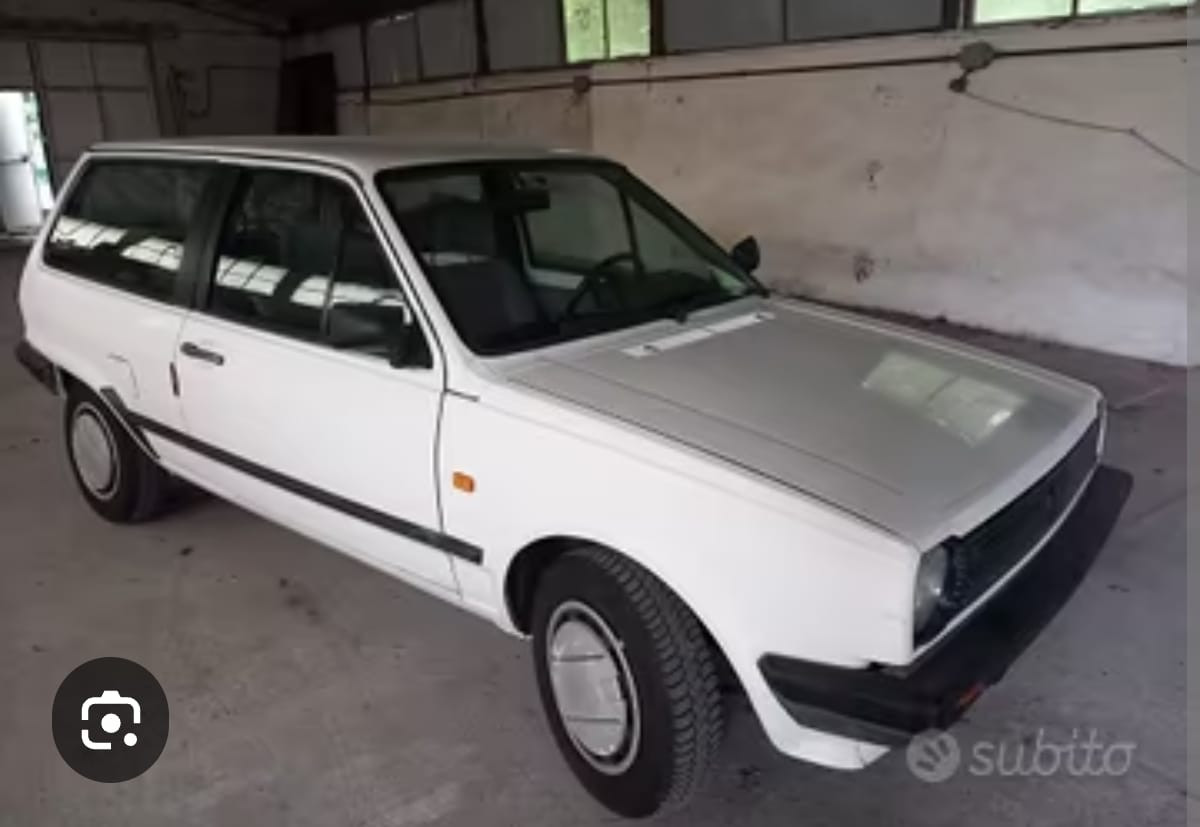
 2 pointsHi to everyone and sorry for my English. I did buy the same exact car i had 40 years ago and i am here for a lot of things i wasnt allowed to do in my 20s :)
 2 points
-
2 pointsThere will be an ignition on supply on the heater blower switch that might be easier to use rather than that lead from the fusebox and yes I would still protect it with an inline fuse2 points
-
 2 pointsRemoving Polo's wiring Removing polo's ECU essencials and ecu peripherals. Also removing fused protected power and a set of +5VDC and GNDs that power engine sensors. ECU peripherals ECU essencials This was paired with my speeduino, so I had to remove both. Fused protected This cables go to the inside of the car some are fused others not. VSS (vehicle speed sensor) is here. Injectors +12VDC fused cable is here. A spare +12VDC is also here and ignition protection, also +12VDC. A good set of +5VDC and GNDs are here also, all going to be inhibited.2 points
-
 2 pointsI'm back to say that Pete has performed his magic trick again. Front windows are now functioning again. What a relief! Thank you Pete, and thank you clubpolo. He and this space are typically what make the Internet a formidable tool – experts ready to help, clearly human testimonies backing up what the experts say, searchable and referenced archives. Social media, Chat-GPT and Discord servers were of no help whatsoever!2 points
-
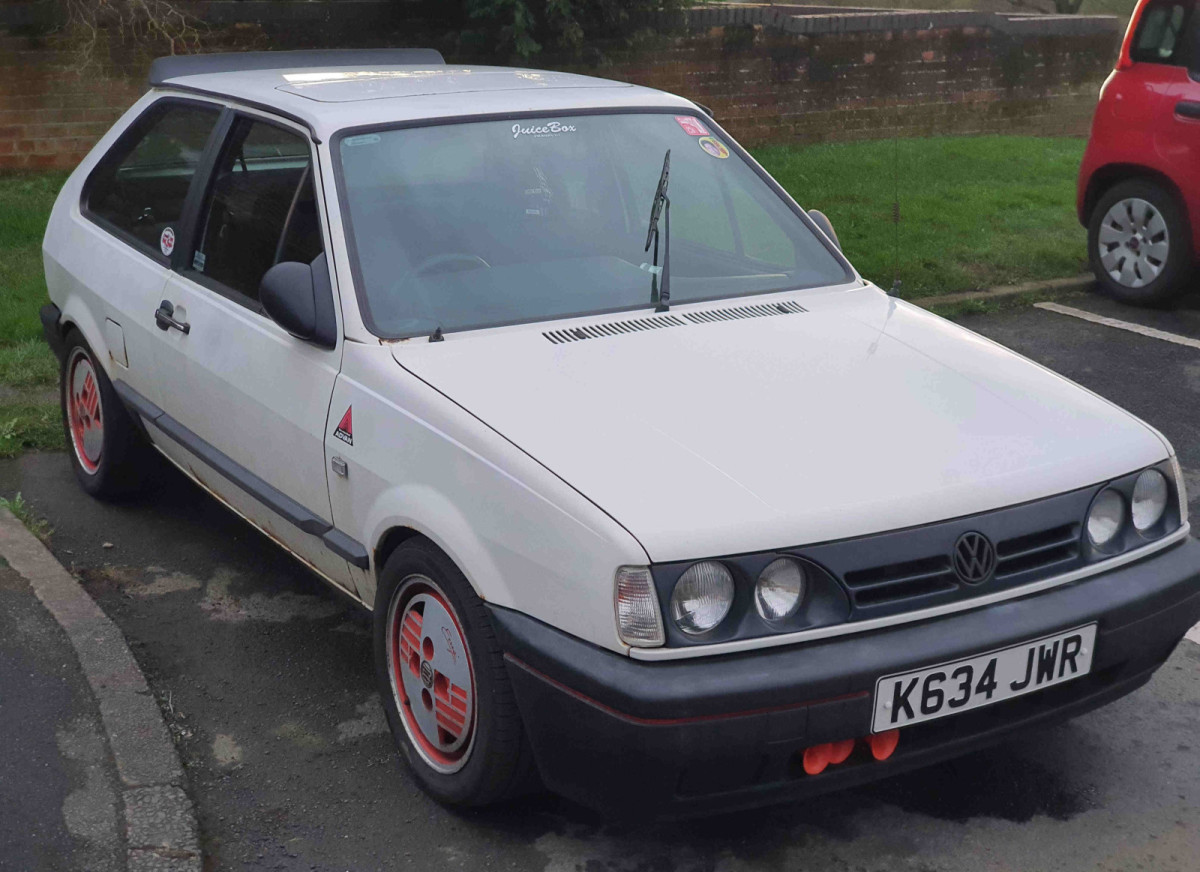
 I do! Life got in the way of updating this thread lol.... I'll have to get this thread up to date someday soon when the Polo goes back on the road! Here's a pic of what the front end looked like before it went off the road last summer.
 2 points
-
The temperature gauge is now reading much better, however the big shock is that the tickover is now completely stable and it doesn't run very rich when it's stone cold any more. There is no hunting, no stalling, and the idle is perfect. This means that the digifant is affected adversely by the loss of a clean earth on this t28/2 at the cluster.2 points
-
2 points
-
 An update - half a can of carb cleaner and the donkey lives!! It's amazing watching the grime wash away into the air intakes... Now it will need some driving to warm the engine through. Thanks for your help and encouragement dvderlm!2 points
-
 Hi all The Goodwood Festival of Speed has been in touch in me. It’s having a class in the Cartier Style et Luxe Concourse d’elegance dedicating exclusively to cars designed by Marcello Gandini. I don’t actually know how much input Bertone and Gandini had in the final Mk1 Polo/Audi 50 design – I think it might be minimal – but regardless of that, it’s nice to know the Polo is being honoured. So… Goodwood is looking for any fortunate owners of Mk 1 Polos or Audi 50s that would be available to take part. The ideal display car has to be in good condition and totally original inside and out. Two cars that come to mind are TNM 815R, FLP 749T and BBR 472W, provided the later cars haven't been too modified with earlier bumpers etc and that wheels can be swapped easily. The Festival of Speed takes place July 11th-14th. The car would be needed anytime between Monday-Wednesday before the event goes live on the Thursday, and can be collected anytime on the Monday morning after the event. Sadly Goodwood can’t offer transport to the event. However, an entry will include weekend admission tickets, an invitation to The Ball at Goodwood House on Saturday night hosted by The Duke of Richmond, and also Cartier’s champagne reception and prize-giving lunch on the Sunday. The cars are supervised at all times so owners don’t have to always be onsite, and are welcome to explore the festival on any day. If anyone has such a car as described above, or knows of someone who does, drop me a line at rich@polodriver.com – with an image or two – and I'll forward to Goodwood for consideration. Many thanks, Rich PoloDriver.com2 points
-
2 pointsAh, the review I wrote! Thanks for sharing. The Volkswagen Classic car was amazing, although the seats were a little 'baggy' and could have done with a retrim, and one bumper cap was missing at the back...2 points
-
 2 pointsMy wifes central locking and electric windows literally stopped working overnight on her VW POLO 56 plate, i searched the het and came across Club Polo and found Pete1's post about the repair service. So i got in contact with him and sent him the window motor for test and repair, i got it back within a couple of days all fixed, i have just fitted it back on and its all working perfectly. I cannot recommend Pete1 service enough, he is a diamond.2 points
-
 2 points
-
 2 pointsSecond winter upgrade: exhaust It's been mentioned to me a few times that my exhaust looked small.. so rude. ...in all seriousness I had been considering this for a while to help the engine pump air more efficiently as is their way. I realise the normal route would be just to get a mandrel bent stainless setup made but I was intrigued that there are so many different combinations of part numbers on Etka for various Mk1-Mk2f Coupe/Hatchback applications; single/twin downpipes, 42.5, 45.5, 48.5, 49.5mm clamps, long/short middle sections, long/short silencer back boxes. Also there are a lot of exhaust parts available NOS from Volkswagen Classic Parts. So I made a spreadsheet of the options then started hunting. The Polo originally had a 895cc HA exhaust: HA single outlet cast manifold > HA combined single downpipe and middle section piece 38mm OD with no resonator or cat > 42.5mm clamp > short silencer I then upgraded this to a 1272 HH exhaust which would have been the largest available on a Mk1: HH twin outlet cast manifold > GK non-cat twin downpipe section (as HH would have had a port from the inlet heater) > 42.5mm clamp > flexible section > 42.5mm clamp > HH long middle section with resonator (as GK would have been too big at the end for my silencer) > 42.5mm clamp > short silencer I then tried the below ending with a Mk2f silencer but it didn't work as I'll come to: HH Twin outlet cast manifold > 3F non-cat twin downpipe section (no inlet heat, no cat, still 38mm OD each but 50:50 pipe join instead of side entry join and goes over flexible section not into it) > 45.5mm clamp > flexible section > 45.5mm clamp > 3F non-cat short middle section with large resonator > 48.5mm clamp (although Etka said it would need 49.5mm) > PY (G40) long silencer I'll go though some photos but where I've ended up is a Mk2 setup essentially: HH Twin outlet cast manifold > 3F non-cat twin downpipe section (no inlet heat, no cat, 50:50 pipe join instead of side entry join) > 45.5mm clamp > flexible section > 45.5mm clamp > 75PS GK long middle section with resonator > 48.5mm clamp > 75PS GK short silencer So it'll run though logically from the engine. The HA was a single outlet cast exhaust manifold with a V-clamp so I'd changed already to a HH twin outlet exhaust manifold. The PY (G40) cast exhaust manifold has very slightly larger twin outlets so has a different gasket between the manifold and downpipe (the same as some Passat) but all PY downpipes are cat so not something I thought I would have space for easily or wanted to do. All other cast twin outlet exhaust manifolds are the same outlet size so I stayed with the HH one. The HA was a coolant heated inlet manifold so had no interaction with the exhaust when I ran it stock or with the twin DCOE40s. Although the HH is an exhaust heated inlet manifold so would then have a flexible section down from the inlet manifold to take the exhaust gas into the downpipe near where the gearbox hanger is I have always run it with the twin Weber carb set up with no inlet heating. So I used a GK non-cat twin downpipe section as GK is also not an exhaust heated inlet engine, this had the two downpipes join by one entering the side of the other then the pipe where they joined going into the ID of the flexible section. I have upgraded this to a 3F engine code non-cat twin downpipe section which also has no exhaust port for inlet manifold heating, no cat strangely (there is a cat version) but notably it has a 50:50 pipe join instead of side entry join and it goes over the OD of the flexible section not into the ID of it so has a larger clamp. In the photo below 3F is top and GK is bottom. When I put the HH exhaust on I used a stainless braid flexible section as it was much cheaper than the corrugated original type ones I could find at the time. This time round I located the corrugated type (direct from Volkswagen Classic Parts actually during free-shipping Black Friday) but it's worth noting that the cat downpipes don't need these and the 3F/GK engines state a different part number but they are all the same part. The only difference is that 3F/GK parts clamp to the outside of the flexible section and others go inside the flexible section hence the smaller clamp. The HA engine middle section goes all the way from the single outlet cast exhaust manifold as a single 38mm OD pipe to the silencer back box and I'd been using a NOS VW back box which connected using a 42.5mm clamp. When I changed to the twin downpipe I used a HH long middle section with resonator which used a 42.5 mm clamp at either end. For the new arrangement I have used a 75PS GK long middle section with resonator which is over the OD of the flexible section so a 45.5mm clamp and then has a short engine specific silencer back box which uses a 48.5mm clamp. The below photo shows the difference with the HH going into and the GK over the middle section. In the photo below GK is top and HH is bottom. Prior to the final arrangement I had tried using a PY (G40) silencer back box with a 3F non-cat short middle section with large resonator. Unfortunately whilst the combination of short middle and long silencer did the same job as a long middle and short silencer in terms of lining everything up \9e.g. the rear axel dip) the rear valence got in the way. The rear valence of a Mk1 curves around quite a lot compared to the mostly vertical Mk2 and the Mk2f which benefits from a larger bumper too. The space between the rear axel dip and the mounting bracket is the same for each but the Mk2f's larger tail pipe takes up more space making its curves and also has almost no downward drop so the silencer box itself pretty much touched the rear valence even if the tail pipe was totally chopped off. The Mk2 GK silencer back box had a decent downward drop on the tail pipe which was similar to the Mk1 silencer back box but clearly the pipe was still bigger taking up more space past the exhaust hanger point where the rear valence curved into. In the photo below the PY is top -eft, GK is bottom-right and Mk1 is bottom-left and top-right. The photo below better shows the vertical drop on the GK tailpipe where the PY had almost no vertical drop. It all also shows that to fit the GK silencer back box I had to move the mounting bracket 1" back to allow for the larger tailpipe inside the rear valence. A friend removed this and tig welded it in place for me which turned out great and it sits happily in the Mk1 valence hole. The eagle-eyed amongst us will have spotted more progress with another winter upgrade but for now, Merry Christmas!2 points
-
1 pointWiring is too simple.. original radio had an on/off switch and buttons.I bridged standby and main power which was probably a mistake. Now trying unplugging the anti theft front panel. It has a GK engine.1 point
-
VCDS live data of the MAP pressure will tell you that. During warm-up the ECU will be richening and advancing spark timing. There's usually a reference atmosphere barometric sensor in the ECU that should also be checked with just ignition on, then at idle. Could that be dirty/blocked? That's a guess. I'm a carbs guy.1 point
-
1 pointI like it mid-way between floor and end of travel. 6mm of free play at the lever end says the always reliable caretakerplus https://www.clubpolo.co.uk/topic/287595-clutch-biting-point-help/#findComment-23590451 point
-
 1 pointCrazy 20 years!!! I still have Bluey just hasn't moved from the comfort of the garage for 3 years. I very much miss the polo show and seeing all my polo friends, although I don't especially miss the BBQ in this heat 🥵1 point
-
1 point
-
1 pointAll about the same level of difficulty. Mechanically and electrically. Don't underestimate how hard it is to safely remove an engine, undo driveshaft spline bolts or lift a gearbox back onto the block. That said, Polos are nice to work on. I'd fit an HK and get it running with a Weber 32/34 DMTL kit conversion 1887097400. (Then move to bike carbs if this is not enough power... it will feel much more than you have now, and brake upgrade will be sensible... though I assume you have left hand drive with a brake servo boosted by vacuum from the inlet manifold. UK right hand drive Mk2 do not because of the battery location and firewall profile or maybe cost, lower power. No GK sold in Great Britain). The more complete donor engine you can find with all accessories the easier it should be, or you may find yourself needing to source strange things like different alternator wiring connectors or different thermostat housing, or coolant temp sensor, gearbox reverse switch for example.1 point
-
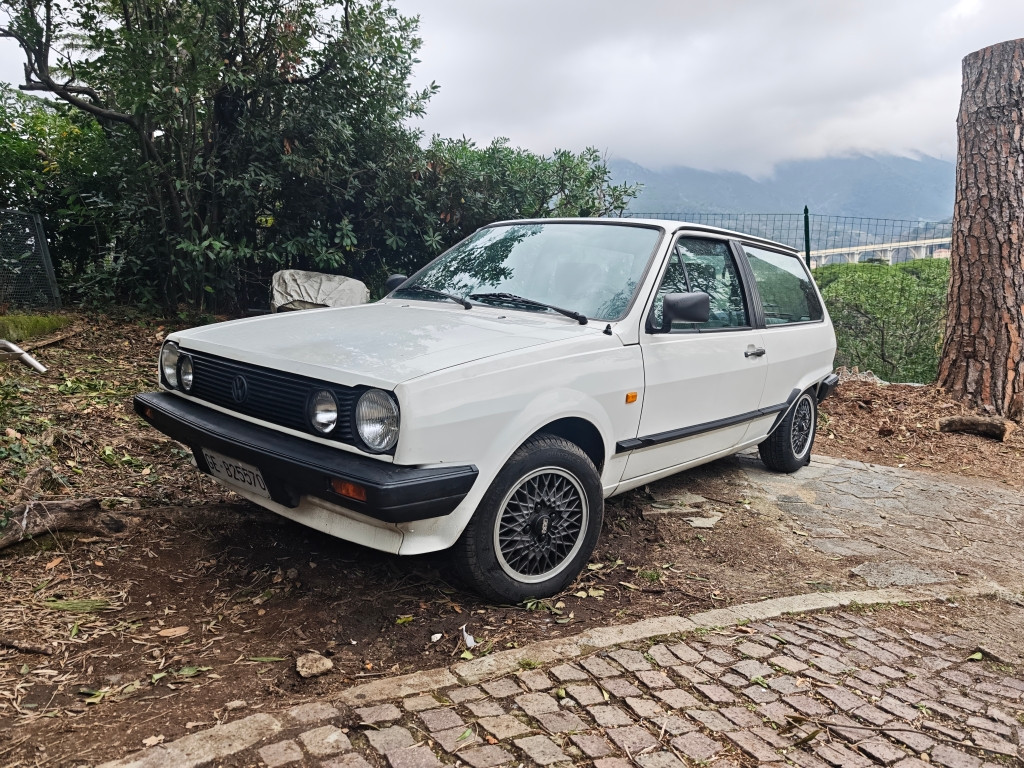
1 pointBang! It was the metal gear. The hole was too wide, exactly as stated in the video I did the procedure and now it works. While I was there, I swapped a pair of led, the factory lamps was stuck I am wondering why the factory headlight switch has lamp but they add a lamp on the frame I also installed a 4 light grill, the factory foglight switch and made a custom install, the 12v come directly from the battery. I plan to have also the headlight draining directly, it increases the Volts and make a brighter light
 1 point
-
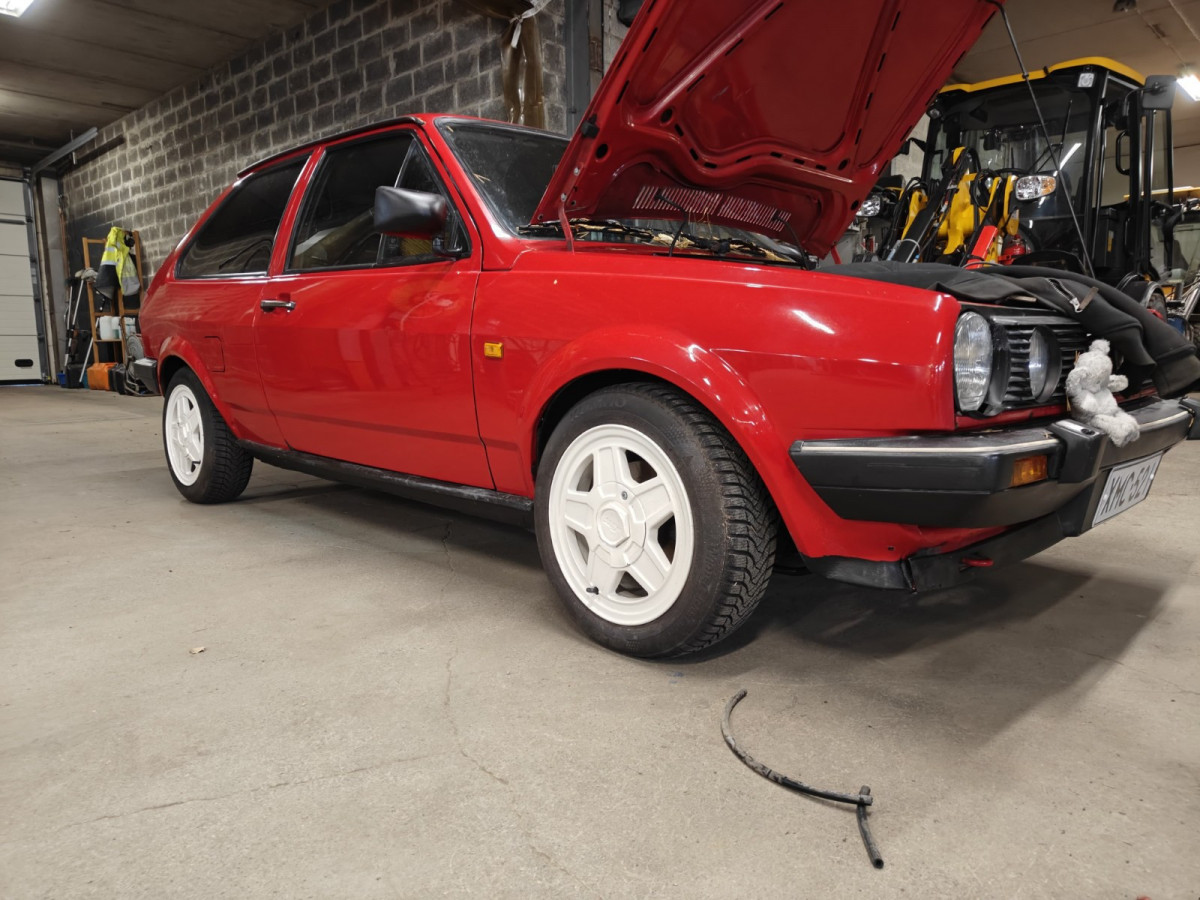
 1 pointHello! I have polo mk2 with weber 32/34 dmtl conversion And i am wondering what is good jet sizes Currently i have Swapped 57 idle on primary and its perfect idle now👌🏻 On my polo i have 4-2-1 exhaust manifold and custom exhaust, 268 shrick cam, Ram air air filter, and intake manifold is empty and good flow. Also swapped mk3 polo 5 speedgearbox But i am thinking about main jet and secondary sizes. Idle main 57 and Sec is webers orginal cant remember Main jet is 110 and sec 125 Main Air correct 155 and 185 Emulsiontube F22 and sec f30
 1 point
-
1 point
-
1 pointYes, further away from the body opens it further at stone cold, thus increasing the time it takes to close fully. RPM at this setting is >2000 when you fire it up, and most of the usual splutter goes away. Worth knowing, and thanks to Tim at Rottele Racing in DE for raising this to my attention.1 point
-
1 pointDon't use lithium grease, make sure its molybdenum- the dark grey stuff.1 point
-
1 pointYou can't argue with the price, but i've always thought there was room for improvement on that particular design. The headers aren't matched very well on 1 and 4, and the 2-1 collector is a bit nasty looking. I'd like to know what company came up with that design and whether it was based on anything mathematical. I used an exhaust manifold calculator to come up with a design for me a while ago; i had to enter cam timing data etc. which made it a bit tricky, i think i used a Schrick. The results were 4-1, one collector, 1-3/8" primaries at a length of 470-520mm. The primaries length can vary according to where you want the power to peak, i went for the area around 5500-6000, so road revs in other words. I'll see if i can dig out the results.1 point
-
1 point
-
Not that anyone will be attempting this job, but I thought it wise to keep the heat on the gauge pins to a minimum. Soldering the pins direct to the contacts would need a lot of heat and risk damage to the gauge internals. I used a 12v iron on a 10v supply and kept the work small scale.1 point
-
 1 pointMany thanks Pete. I posted a request for help on Weds. Pete PM'd me shortly after. Motor was in the post to him the same day. Fixed by him the following day and returned to me on Friday morning. A remarkably short turn around. Motor has been re-fitted to car and windows and central locking are all functional. Good communication and was kept up to date throughout. Very pleased and can recommend the service that has been provided.1 point
-
1 pointHi there, new owner from the North of France, just purchased a 1992 Polo Fox Coupe which has been off the road for a couple of years. Usual story, bought from an old lady by a young enthusiast who lowered it with coil-overs, replaced the 1.0 injection block with a 1.3, fitted some BMW (I think) wheels then ran out of time, parking space, money. Fast-forward three years, car passed on to seller to pay off debt, no CT (French MOT) etc, so hasn't been on the road since and was sitting unloved when we found it with the original engine, box, suspension, etc. in the boot, and the rear tyres rubbing the arches. A quick check for body rust and a longer look at the paperwork and I negociated the price down to €1000, and put it on the trailer. Here it is after a quick clean (and emptying the leftover parts into the garage) The first job will be to get it through an MOT - obvious jobs are a rusty silencer, a steering knuckle and a good service and check of brakes, etc. After that it'll need a longer gearbox, but there was one on the front passenger seat, there's a crack in the top corner of the windscreen, the rear tyres are going to rub if it's heavily-loaded, etc. I've always run older cars - my dailys are a an '81 Golf 1800 Cabriolet in summer and a W124 Coupé in Winter, and I've got a number of other VWs, BMWs and Mercs lying around the place, so I'm not scared1 point
-
 1 point
-
 Wow awesome! That made my day1 point
-
This makes much sense. I don't drive the polo, so it does sound like fuel deposit after evaporation. I used mannol cleaner, which is mostly toluene, dichloromethane and propane-2-ol. Will look up the RAC guide, I was planning on running something in the fuel (ideally without dissolving the fuel lines) to clean the jets. Thanks for the ethanol tip!1 point
-
well I was going to post a picture of the 2 welding clamps I just bought but You have used all of the attachment space you are allowed.1 point
-
I am very grateful to Rich for extending this invite and you can see how it turned out in his article: http://polodriver.com/polo-1975-1981/volkswagen-polo-stars-at-2024-goodwood-festival-of-speed-in-celebration-of-marcello-gandini/1 point
-
 1 pointJust thought I would offer some feedback following the support that Pete offered me with our faulty drivers window/central locking unit. A replacement was sent out to me which I fitted accordingly, boxed up my old unit in the packaging and returned to Pete, the replacement unit works superbly and I cannot thank Pete enough for his support and knowledge. I highly recommend Pete in resolving this issue. Thanks again Pete!1 point
-
 1 pointFor anyone wanting to try this, i've published a YouTube video documenting the whole process, Kufatec sell all the necessary looms although as i did in the video, you can bifurcate a loom from a car in the breakers etc. Hope this helps, Tom1 point
-
 1 pointStroker in the 1.4 TSI "CAVE" is an interesting idea. Did you manage to complete the project? I'm facing the same challenge with conrods.1 point
-
 Thank you for helpful information! Will do some engine mods before i get to ECU tuning then.1 point
-
If it was a 1.4 16v engine you could get a remap file for the stock Marelli ECU €50 https://oldskulltuning.com/vag-ecu-tuning-marelli-4lv-with-tunerpro/ but no explainer of how to download it, or undo if not better. The 16v breathes better (thin valve stems, more valve area) so has more headroom to pump air faster. I can see remap companies claim 10% gain from 60hp to 66/67 for 1.4 8v but I can't see a price or independent review for any of these, sorry.1 point
-
I think you'd need to do intake, exhaust and even engine modifications to make noticeable changes that would give more than the stock ECU could handle. You might be able to change the feel of the engine in lower rev range with just Arduino ECU programming with a custom map (and still pass emissions tests). But at higher revs the engine pump rate of air is limited by the inlet and exhaust and valve diameters and opening durations, no matter how much more fuel you squirt in.1 point