Leaderboard
-

dvderlm
Club_Member24Points5355Posts -

Pete1
Small Trader22Points651Posts -

nige8021
Club Member18Points12179Posts -

mr brightside
Forum User17Points178Posts
Popular Content
Showing content with the highest reputation since 11/03/23 in all areas
-
 4 pointsEngine bay is smoothed and AFH engine swaped on twin webersl 40's
 4 points
-
 Dear ClubPolo Members, Reflecting on our journey, after over 20 years of existence, we faced uncertainty about the fate of our beloved site. There were moments when the possibility of closure loomed, leaving us and our community in suspense. However, thanks to the unwavering support of our dedicated members and the commitment of our team, we are thrilled to announce that we've managed to keep the site alive and thriving for the foreseeable future. This milestone is a testament to the resilience and enduring spirit of our community. We deeply appreciate the continued support, and we look forward to many more years of shared experiences and growth together. In response to the growing interest from individuals eager to support our site, many have expressed their desire to take out a subscription. We appreciate the enthusiasm and commitment from our community members, and we're delighted to offer various subscription plans, including the newly introduced biannual option, to cater to diverse preferences. Your support plays a vital role in maintaining and enhancing our platform, ensuring an enriched experience for all members. Starting 11th Feburary 2024, we're implementing a modest price increase. With this, we'll also be introducing a new biannual plan. Enjoy the benefits of this 6-month subscription, start at £5 every 6 months after the initial subscription period. Additionally, our Annual Plan will now renew at £8 every 1 year after the initial subscription period, but we're pleased to offer you a £3 discount on the regular yearly price, making the Annual Plan an even better value. By contributing to our community, not only will you enjoy the benefits of membership, but you'll also experience that heart warming sensation of knowing you're actively supporting the growth and maintenance of our site. As a community-driven forum, our club incurs various expenses to ensure the smooth operation of our website. These expenses include web hosting, servers, and software licences, all of which are crucial for the day-to-day functioning of our platform. Thank you for being a valuable part of our community! Sincerely, ClubPolo Staff4 points
-
Anyone else think this reads very spammy as a first post? Just lacks a link to the wonder product to be completely obvious.3 points
-
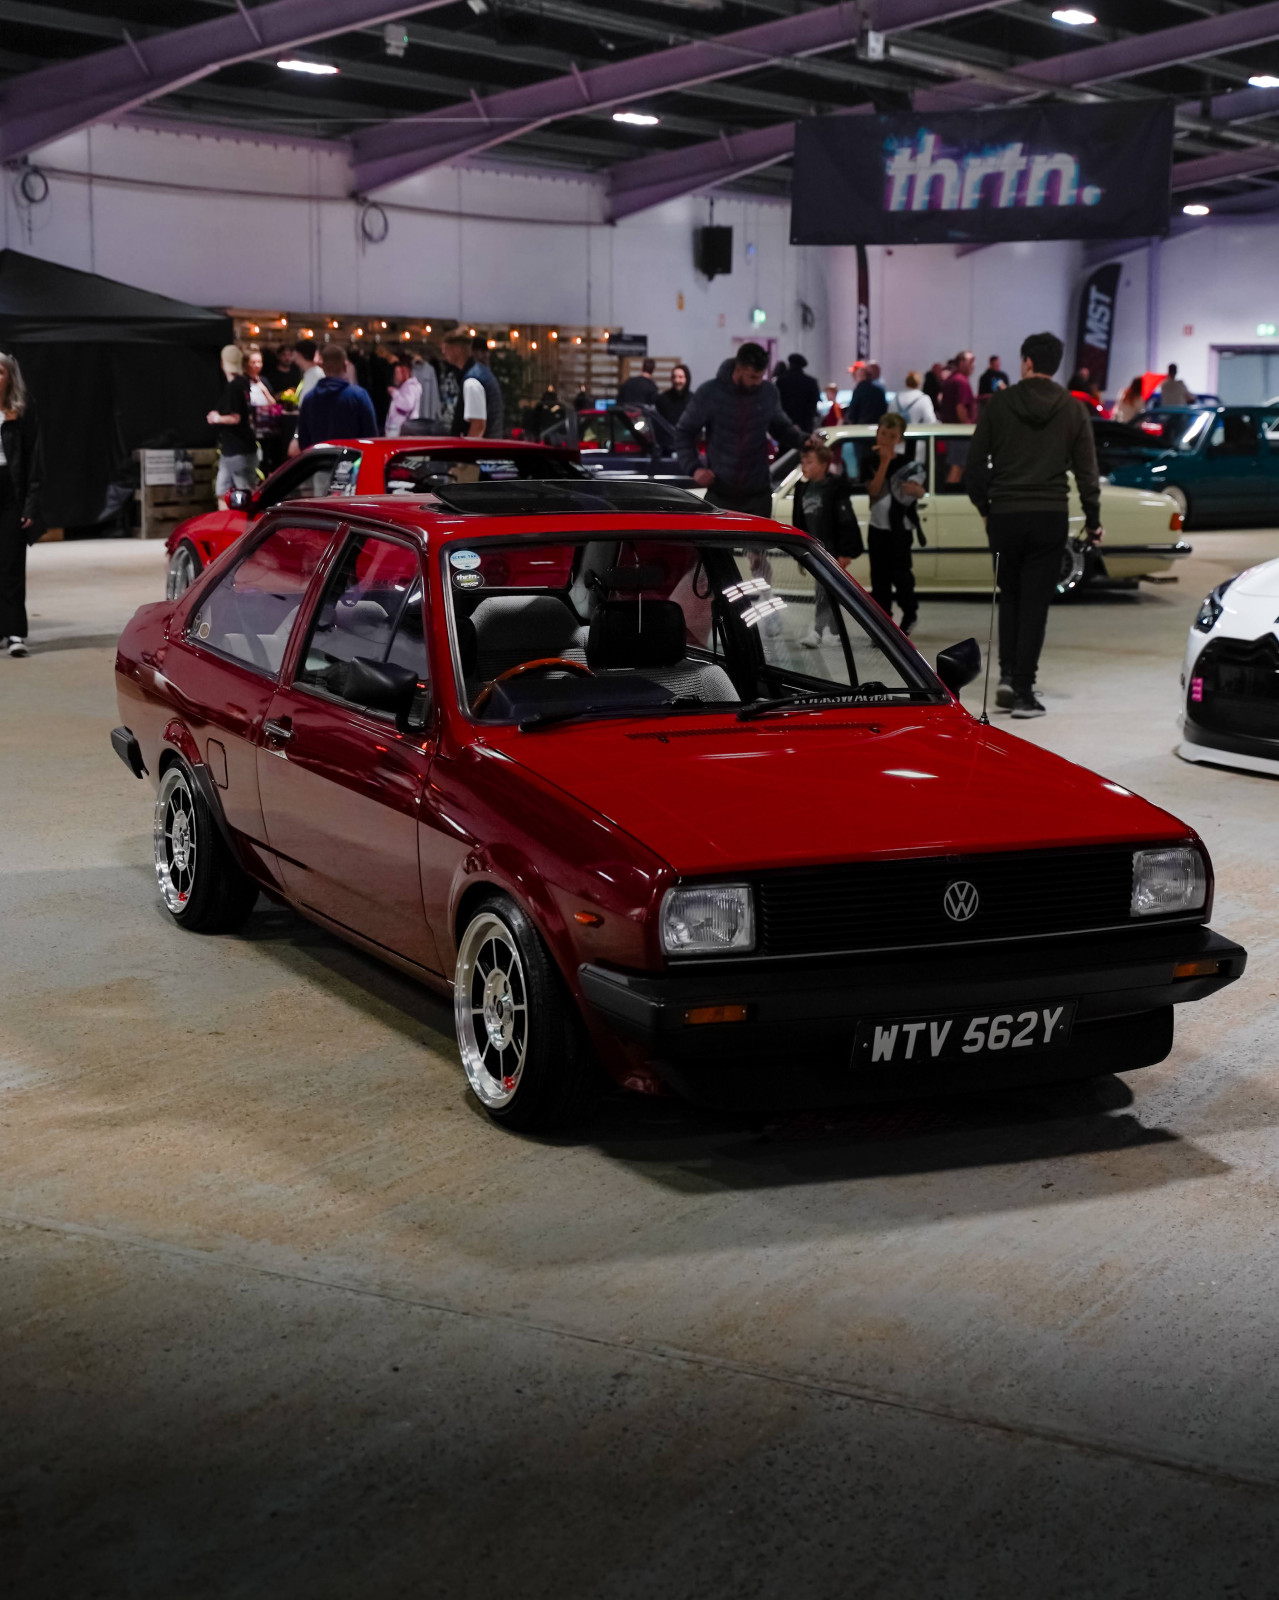
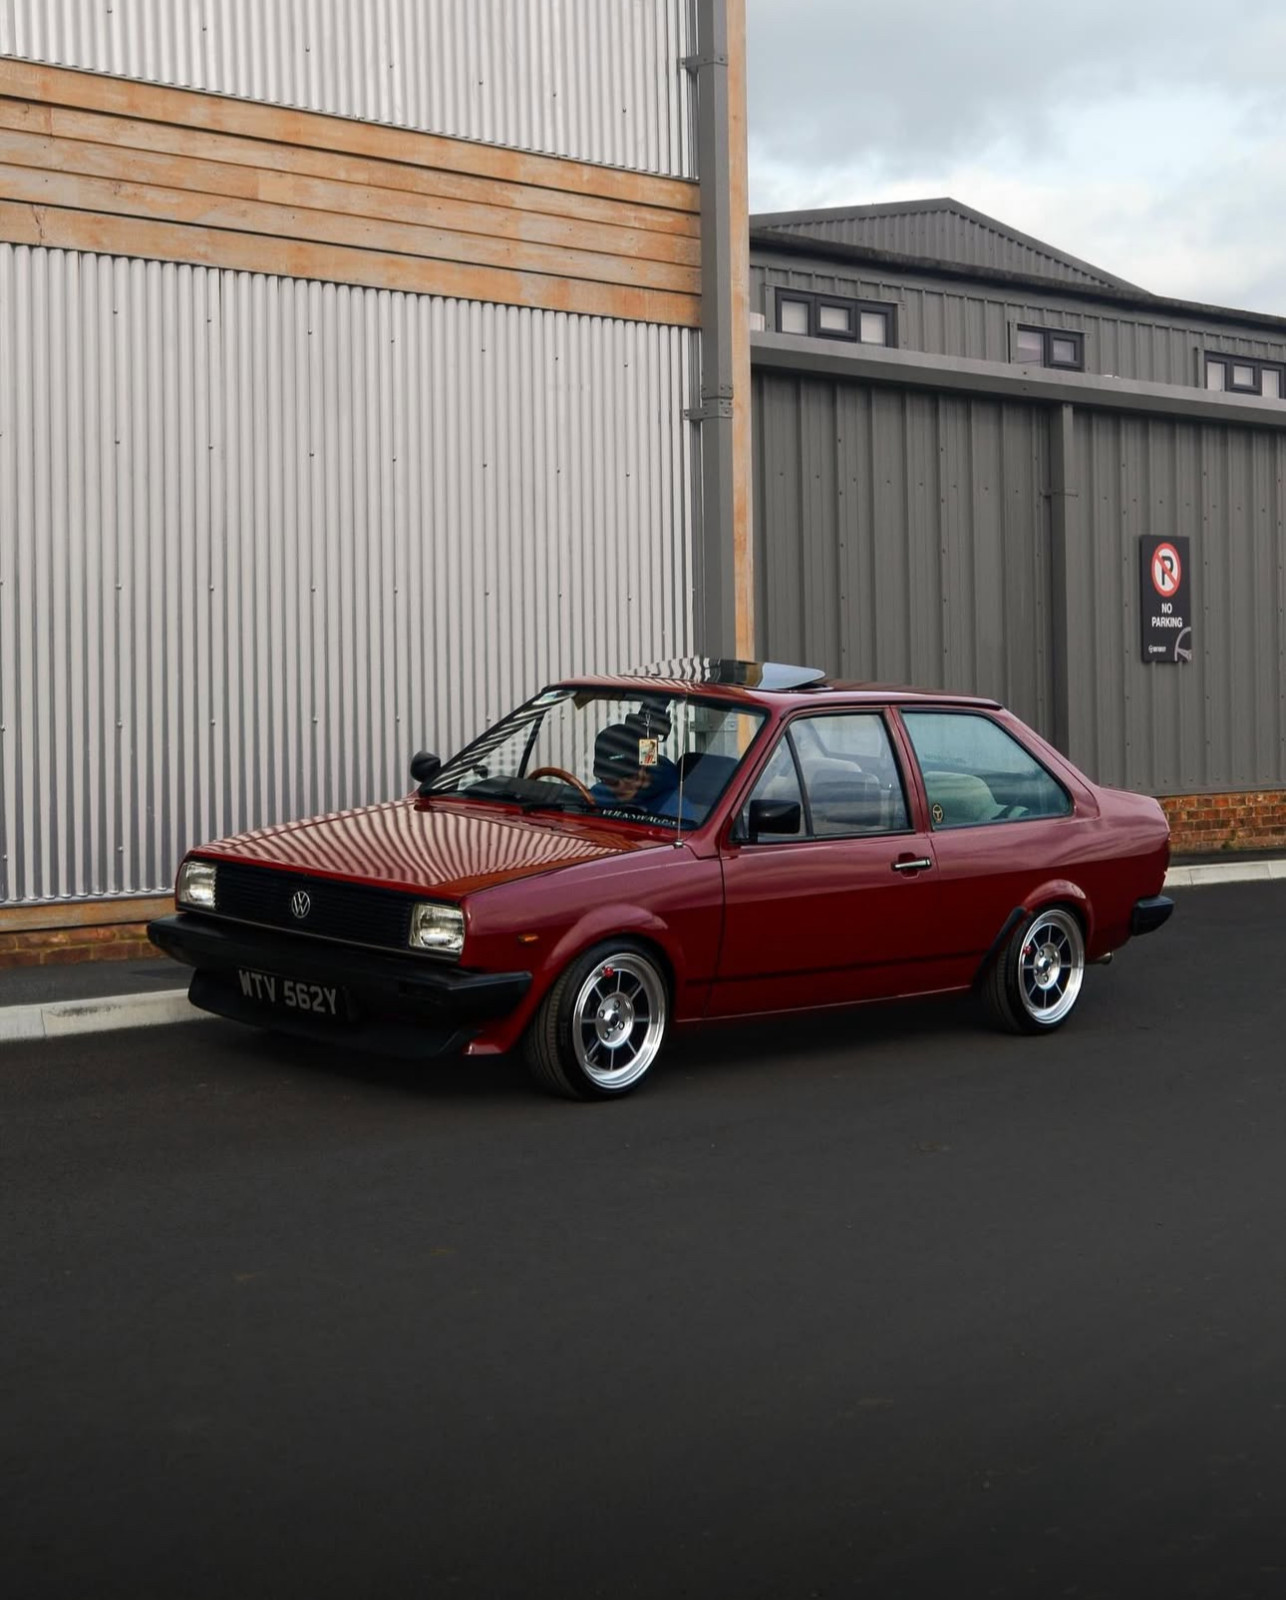
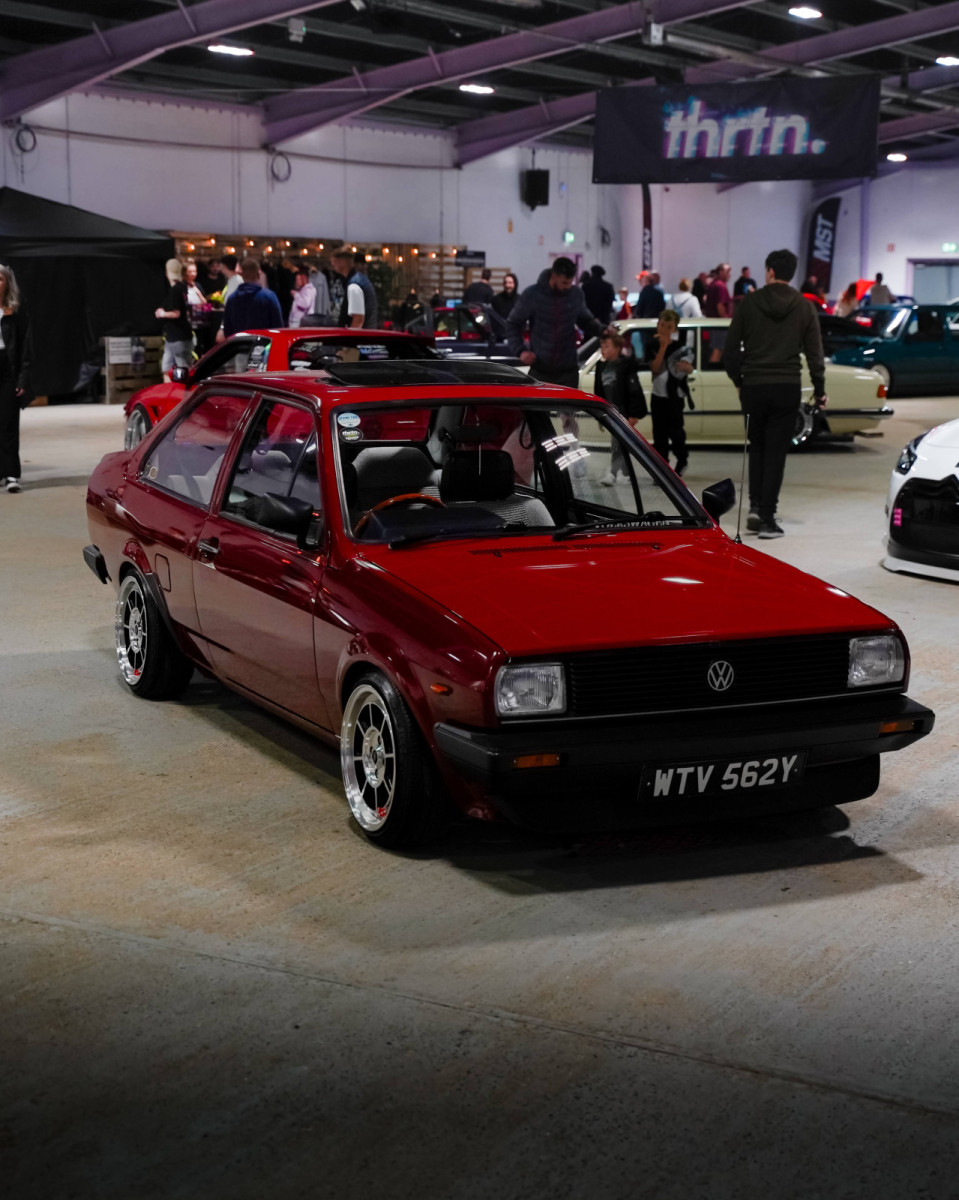
 Hey everyone, just joined the group and wanted to share my Mk2 Polo Saloon project. This is my 1982 VW Polo Classic C in Gambia Red. It’s a pretty rare one - only a handful of this specific C trim level are still registered in the UK, with just 6 currently on the road according to the latest figures. It’s still running the original 1.1L engine and 4-speed gearbox, but the bay’s been fully cleaned and refreshed with loads of new OEM parts. Only non-original bit under the bonnet is a GPI stainless radiator, adapted to work with the original fan and housing so it still keeps that factory look. The car sits on TA Technix coilovers, 15” Rota BM8s with stretched Nankangs and 10mm MTEC spacers, plus a custom stainless exhaust and a Mk1 Golf GTI duckbill splitter up front. Interior-wise, it’s mostly original with some thoughtful upgrades: Fully sound-deadened using 3mm sound deadening sheets (no added insulation) Hidden Pioneer 4” oval speaker under a shaved OEM grille Dash-mounted Pioneer tweeters A pair of 80s Hitachi SX-103 parcel shelf speakers, which I plan to gut and rebuild with modern Pioneer internals to keep the retro look but with modern sound quality Other touches include a Kamei golf ball gear knob, Wolfsburg drilled window winders, wooden lock pins, and a Momo Heritage wooden steering wheel to finish it off. It’s also had a solid mechanical refresh: Febi Bilstein control arms, rear drums, and wheel bearings Brembo front discs Polybush castor-correcting ARB mounts Next up is a top-end refresh; head gasket, timing belt, water pump, and head skim/rebuild to keep things reliable for the long run. It gets a lot of love wherever it goes, and I’m enjoying slowly building it into something unique while keeping the original spirit intact. Feel free to follow my journey on Instagram: @l3owt_ Looking forward to seeing what everyone else is building!
 3 points
-
 3 pointsOver a year later, and a few thousand kms without mishap. She's got a home-made roofrack and a new backbox: Not really getting used as much as I'd like but then I have too many cars... Robin3 points
-
The coil packs are normally pretty reliable there are resistance checks you can do if you search on here I know I’ve posted the checks a few times but unfortunately my laptop with the information is currently not working The other thing you could check is the sensor grounds mostly Brown/Yellow wires that go to a bolt on the cylinder head2 points
-
The running and then cutting out sounds like the G28 crankshaft sensor if the camshaft sensor fails the ECU uses the crankshaft sensor as a backup but if that fails or gives erroneous data then the ECU will shut the engine down the only other sensor that would cause a shutdown is the knock sensor You can see the sensor outputs on VCDS in the measuring blocks and also in the Vscope display2 points
-
 Definitely, yes, but I'm not a mod any more, so I'll just leave it at explaining a better option than the product in the spam.2 points
-
2 pointsIt's an ECU bracket, on a car that doesn't have an ECU. VW were planning ahead.2 points
-
 2 pointsUPDATE: I spent an evening sanding the crankshaft and conrod journals, getting them to a state where they weren't smooth to the touch but they were operationally smooth. Plastigauge read that they were still within clearance spec, and an old-timer on a youtube video said not to worry too much about indents running around the bearings, as oil would simply fill those little gaps (not ideal, but not a show-stopper). So I reassembled everything, and the car has been running smoothly for a week now. This weekend, I'm going to drop the sump and verify the state of the oil, conrod/crankshaft play, and the status of the bearings. Looks like what VAG said was impossible, not giving any information in the service manual for bearing replacement saying that as soon as you even undo the crankshaft bolts the engine block has to be replaced, is in fact doable—at least in the short term, as I now need to monitor for longevity—but so far so good!2 points
-
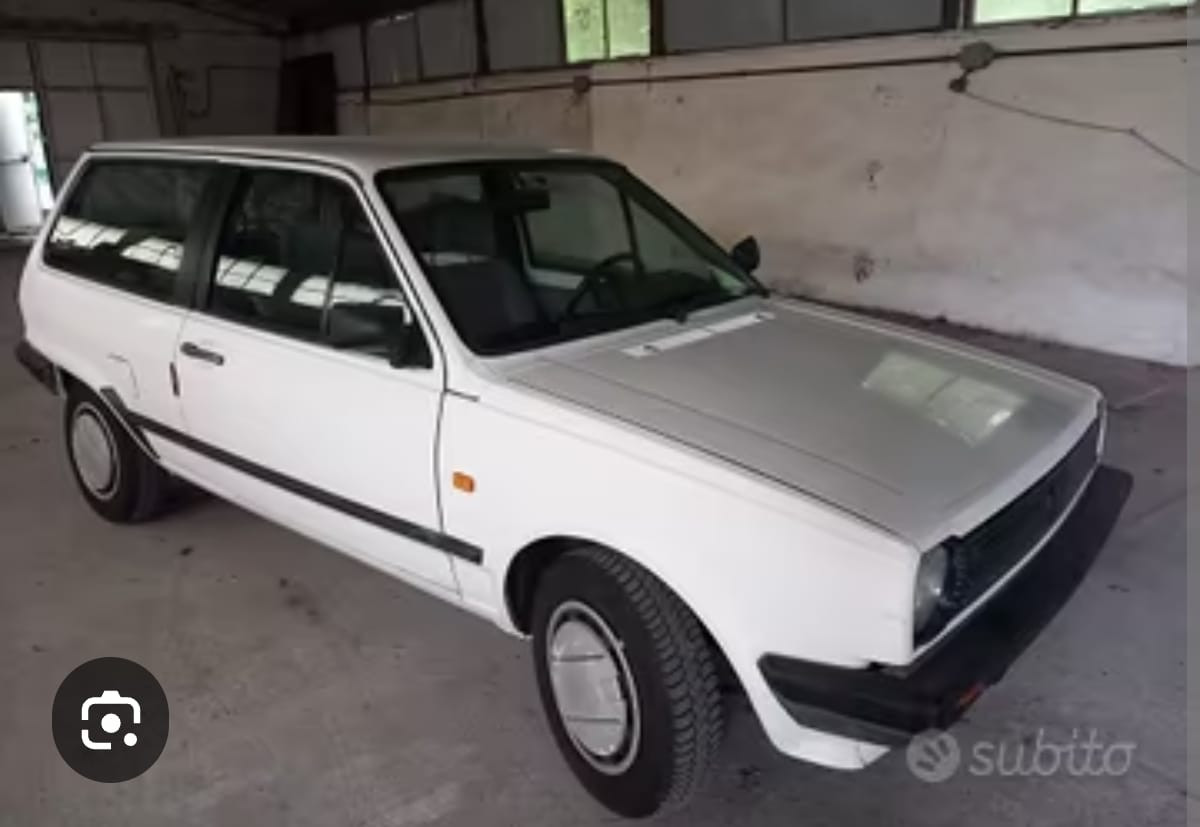
 2 pointsHi to everyone and sorry for my English. I did buy the same exact car i had 40 years ago and i am here for a lot of things i wasnt allowed to do in my 20s :)
 2 points
-
2 pointsThere will be an ignition on supply on the heater blower switch that might be easier to use rather than that lead from the fusebox and yes I would still protect it with an inline fuse2 points
-
 2 pointsRemoving Polo's wiring Removing polo's ECU essencials and ecu peripherals. Also removing fused protected power and a set of +5VDC and GNDs that power engine sensors. ECU peripherals ECU essencials This was paired with my speeduino, so I had to remove both. Fused protected This cables go to the inside of the car some are fused others not. VSS (vehicle speed sensor) is here. Injectors +12VDC fused cable is here. A spare +12VDC is also here and ignition protection, also +12VDC. A good set of +5VDC and GNDs are here also, all going to be inhibited.2 points
-
 2 pointsI'm back to say that Pete has performed his magic trick again. Front windows are now functioning again. What a relief! Thank you Pete, and thank you clubpolo. He and this space are typically what make the Internet a formidable tool – experts ready to help, clearly human testimonies backing up what the experts say, searchable and referenced archives. Social media, Chat-GPT and Discord servers were of no help whatsoever!2 points
-
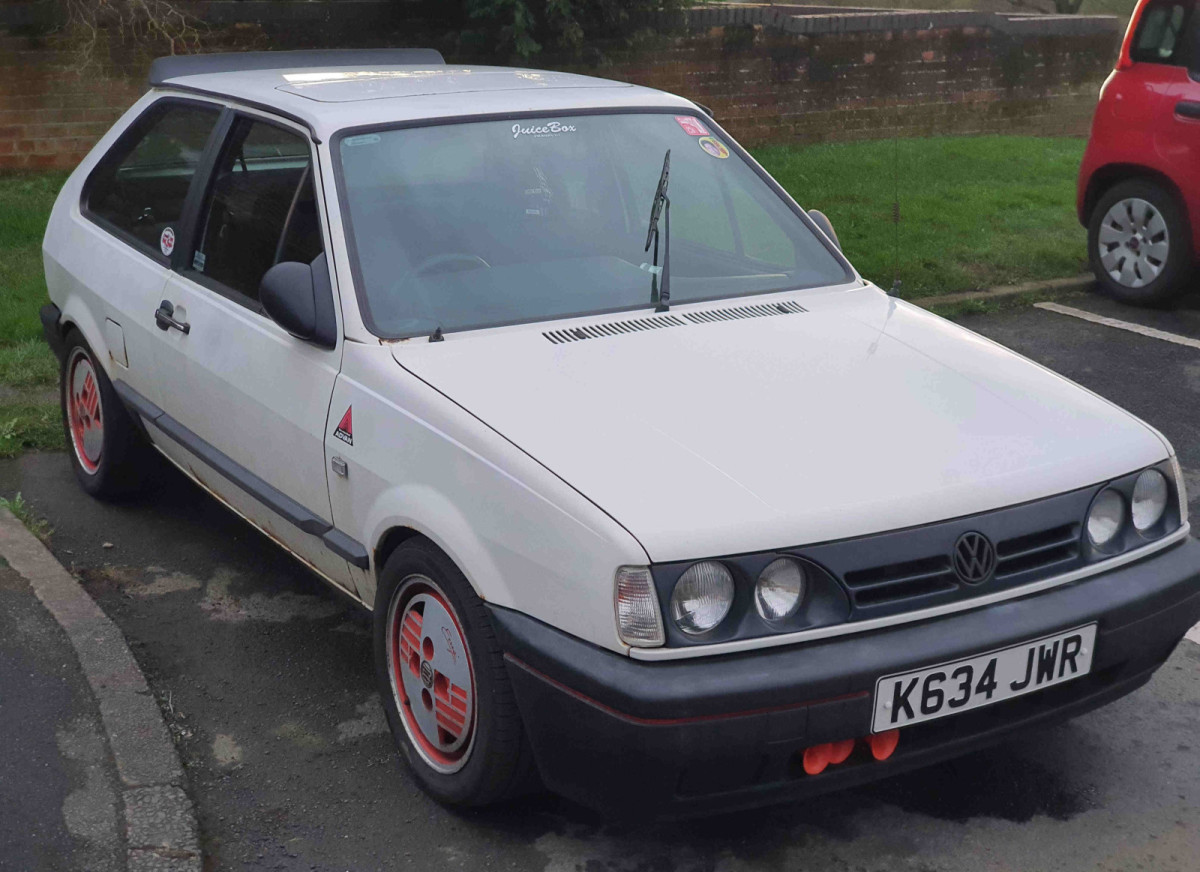
 I do! Life got in the way of updating this thread lol.... I'll have to get this thread up to date someday soon when the Polo goes back on the road! Here's a pic of what the front end looked like before it went off the road last summer.
 2 points
-
The temperature gauge is now reading much better, however the big shock is that the tickover is now completely stable and it doesn't run very rich when it's stone cold any more. There is no hunting, no stalling, and the idle is perfect. This means that the digifant is affected adversely by the loss of a clean earth on this t28/2 at the cluster.2 points
-
2 points
-
 An update - half a can of carb cleaner and the donkey lives!! It's amazing watching the grime wash away into the air intakes... Now it will need some driving to warm the engine through. Thanks for your help and encouragement dvderlm!2 points
-
 Hi all The Goodwood Festival of Speed has been in touch in me. It’s having a class in the Cartier Style et Luxe Concourse d’elegance dedicating exclusively to cars designed by Marcello Gandini. I don’t actually know how much input Bertone and Gandini had in the final Mk1 Polo/Audi 50 design – I think it might be minimal – but regardless of that, it’s nice to know the Polo is being honoured. So… Goodwood is looking for any fortunate owners of Mk 1 Polos or Audi 50s that would be available to take part. The ideal display car has to be in good condition and totally original inside and out. Two cars that come to mind are TNM 815R, FLP 749T and BBR 472W, provided the later cars haven't been too modified with earlier bumpers etc and that wheels can be swapped easily. The Festival of Speed takes place July 11th-14th. The car would be needed anytime between Monday-Wednesday before the event goes live on the Thursday, and can be collected anytime on the Monday morning after the event. Sadly Goodwood can’t offer transport to the event. However, an entry will include weekend admission tickets, an invitation to The Ball at Goodwood House on Saturday night hosted by The Duke of Richmond, and also Cartier’s champagne reception and prize-giving lunch on the Sunday. The cars are supervised at all times so owners don’t have to always be onsite, and are welcome to explore the festival on any day. If anyone has such a car as described above, or knows of someone who does, drop me a line at rich@polodriver.com – with an image or two – and I'll forward to Goodwood for consideration. Many thanks, Rich PoloDriver.com2 points
-
2 pointsAh, the review I wrote! Thanks for sharing. The Volkswagen Classic car was amazing, although the seats were a little 'baggy' and could have done with a retrim, and one bumper cap was missing at the back...2 points
-
 2 pointsMy wifes central locking and electric windows literally stopped working overnight on her VW POLO 56 plate, i searched the het and came across Club Polo and found Pete1's post about the repair service. So i got in contact with him and sent him the window motor for test and repair, i got it back within a couple of days all fixed, i have just fitted it back on and its all working perfectly. I cannot recommend Pete1 service enough, he is a diamond.2 points
-
 2 points
-
 2 pointsSecond winter upgrade: exhaust It's been mentioned to me a few times that my exhaust looked small.. so rude. ...in all seriousness I had been considering this for a while to help the engine pump air more efficiently as is their way. I realise the normal route would be just to get a mandrel bent stainless setup made but I was intrigued that there are so many different combinations of part numbers on Etka for various Mk1-Mk2f Coupe/Hatchback applications; single/twin downpipes, 42.5, 45.5, 48.5, 49.5mm clamps, long/short middle sections, long/short silencer back boxes. Also there are a lot of exhaust parts available NOS from Volkswagen Classic Parts. So I made a spreadsheet of the options then started hunting. The Polo originally had a 895cc HA exhaust: HA single outlet cast manifold > HA combined single downpipe and middle section piece 38mm OD with no resonator or cat > 42.5mm clamp > short silencer I then upgraded this to a 1272 HH exhaust which would have been the largest available on a Mk1: HH twin outlet cast manifold > GK non-cat twin downpipe section (as HH would have had a port from the inlet heater) > 42.5mm clamp > flexible section > 42.5mm clamp > HH long middle section with resonator (as GK would have been too big at the end for my silencer) > 42.5mm clamp > short silencer I then tried the below ending with a Mk2f silencer but it didn't work as I'll come to: HH Twin outlet cast manifold > 3F non-cat twin downpipe section (no inlet heat, no cat, still 38mm OD each but 50:50 pipe join instead of side entry join and goes over flexible section not into it) > 45.5mm clamp > flexible section > 45.5mm clamp > 3F non-cat short middle section with large resonator > 48.5mm clamp (although Etka said it would need 49.5mm) > PY (G40) long silencer I'll go though some photos but where I've ended up is a Mk2 setup essentially: HH Twin outlet cast manifold > 3F non-cat twin downpipe section (no inlet heat, no cat, 50:50 pipe join instead of side entry join) > 45.5mm clamp > flexible section > 45.5mm clamp > 75PS GK long middle section with resonator > 48.5mm clamp > 75PS GK short silencer So it'll run though logically from the engine. The HA was a single outlet cast exhaust manifold with a V-clamp so I'd changed already to a HH twin outlet exhaust manifold. The PY (G40) cast exhaust manifold has very slightly larger twin outlets so has a different gasket between the manifold and downpipe (the same as some Passat) but all PY downpipes are cat so not something I thought I would have space for easily or wanted to do. All other cast twin outlet exhaust manifolds are the same outlet size so I stayed with the HH one. The HA was a coolant heated inlet manifold so had no interaction with the exhaust when I ran it stock or with the twin DCOE40s. Although the HH is an exhaust heated inlet manifold so would then have a flexible section down from the inlet manifold to take the exhaust gas into the downpipe near where the gearbox hanger is I have always run it with the twin Weber carb set up with no inlet heating. So I used a GK non-cat twin downpipe section as GK is also not an exhaust heated inlet engine, this had the two downpipes join by one entering the side of the other then the pipe where they joined going into the ID of the flexible section. I have upgraded this to a 3F engine code non-cat twin downpipe section which also has no exhaust port for inlet manifold heating, no cat strangely (there is a cat version) but notably it has a 50:50 pipe join instead of side entry join and it goes over the OD of the flexible section not into the ID of it so has a larger clamp. In the photo below 3F is top and GK is bottom. When I put the HH exhaust on I used a stainless braid flexible section as it was much cheaper than the corrugated original type ones I could find at the time. This time round I located the corrugated type (direct from Volkswagen Classic Parts actually during free-shipping Black Friday) but it's worth noting that the cat downpipes don't need these and the 3F/GK engines state a different part number but they are all the same part. The only difference is that 3F/GK parts clamp to the outside of the flexible section and others go inside the flexible section hence the smaller clamp. The HA engine middle section goes all the way from the single outlet cast exhaust manifold as a single 38mm OD pipe to the silencer back box and I'd been using a NOS VW back box which connected using a 42.5mm clamp. When I changed to the twin downpipe I used a HH long middle section with resonator which used a 42.5 mm clamp at either end. For the new arrangement I have used a 75PS GK long middle section with resonator which is over the OD of the flexible section so a 45.5mm clamp and then has a short engine specific silencer back box which uses a 48.5mm clamp. The below photo shows the difference with the HH going into and the GK over the middle section. In the photo below GK is top and HH is bottom. Prior to the final arrangement I had tried using a PY (G40) silencer back box with a 3F non-cat short middle section with large resonator. Unfortunately whilst the combination of short middle and long silencer did the same job as a long middle and short silencer in terms of lining everything up \9e.g. the rear axel dip) the rear valence got in the way. The rear valence of a Mk1 curves around quite a lot compared to the mostly vertical Mk2 and the Mk2f which benefits from a larger bumper too. The space between the rear axel dip and the mounting bracket is the same for each but the Mk2f's larger tail pipe takes up more space making its curves and also has almost no downward drop so the silencer box itself pretty much touched the rear valence even if the tail pipe was totally chopped off. The Mk2 GK silencer back box had a decent downward drop on the tail pipe which was similar to the Mk1 silencer back box but clearly the pipe was still bigger taking up more space past the exhaust hanger point where the rear valence curved into. In the photo below the PY is top -eft, GK is bottom-right and Mk1 is bottom-left and top-right. The photo below better shows the vertical drop on the GK tailpipe where the PY had almost no vertical drop. It all also shows that to fit the GK silencer back box I had to move the mounting bracket 1" back to allow for the larger tailpipe inside the rear valence. A friend removed this and tig welded it in place for me which turned out great and it sits happily in the Mk1 valence hole. The eagle-eyed amongst us will have spotted more progress with another winter upgrade but for now, Merry Christmas!2 points
-
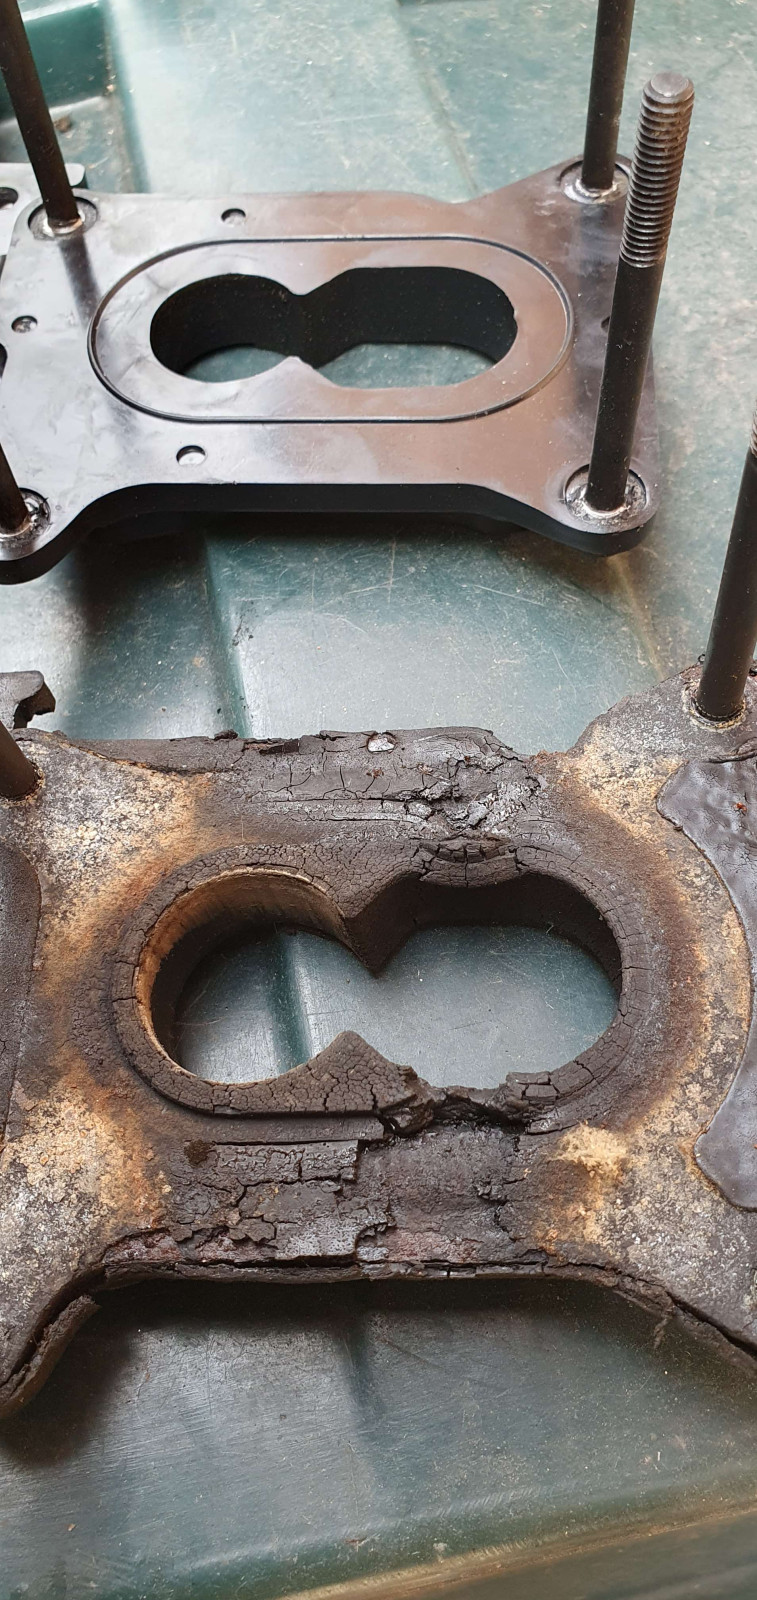
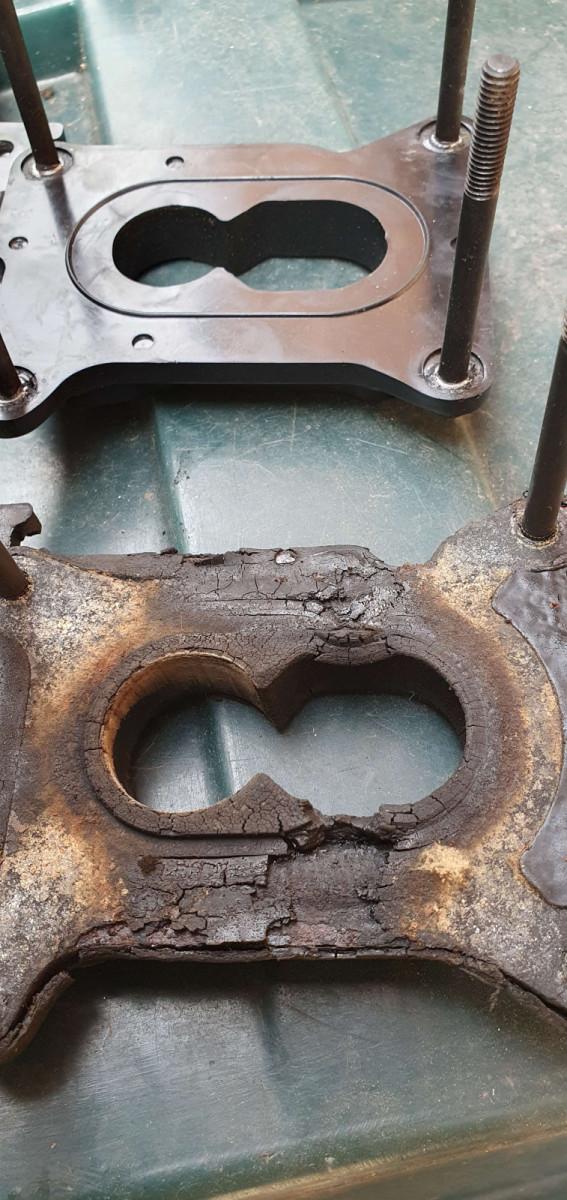
So, the carb base was definitely a problem. The car started and I managed to make a lap of the block. Sufficiently confident, I tried it again. The engine died completely after a few hundred yards. I made it back by squirting carb cleaner directly into the carb in runs of about 50 yards. I gather, there is no fuel going in at all. I added 5 litres to make sure the tank wasn't empty. I have already replaced the fuel pump and will check the vapour separator. A new one is arriving today. I had replaced it but broke one spout during one of the carb disassemblies. The old one was fine, the floats inside were free. When rebuilding the carb I did not replace the float and needle but it seemed to move freely and the engine used to run fine before the car was parked for ten years. I did not test the accelerator pump throughput. This may be a test of fuel making it to the carb reservoir. I did replace the gaskets, plunger, and cleaned quite a lot of ... that had accumulated over 40 years. The saga continues.
 1 point
-
Thanks guys! The Formel E seems to have the low end of the high end components. It does have the electric cut-off valve. I tried it, it clicks nicely. Thanks for the diagramme dvderlm! Unfortunately, I can pretty much recite it with my eyes closed by now but this is the right one, indeed! Very helpful assignment of the two vaccum connectors on the side - explosion A. I found a description bun noone explained which one was which :-) I am about to replace the carb mount. I bought one but I have the niggling feeling it's not the right one. Just ordered another one from heritage parts. Once it arrives, I'll take the carb all apart. Again... Need to check the throughput of the accelerator pump, as well. Split base fits the bill, will see. I only just realised what split meant - it splits horizontally between the upper and lower plates; I was looking for vertical cracks. TBC1 point
-
1 pointI’ve just seen a post on Threads the guy heated the bleed nipple up with an induction heater and it wouldn’t move so he heated it again and then while it was still red hot he rubbed a candle around the thread and it then released with minimal effort 🤷♂️1 point
-
1 pointHere in Italy we have no more specialists 😔perhaps I will find a 1.3 gt instrument with rpm on ebay?1 point
-
1 pointThat is probably a plastic cog worn or stuck. Might need a specialist to repair it.1 point
-
1 point
-
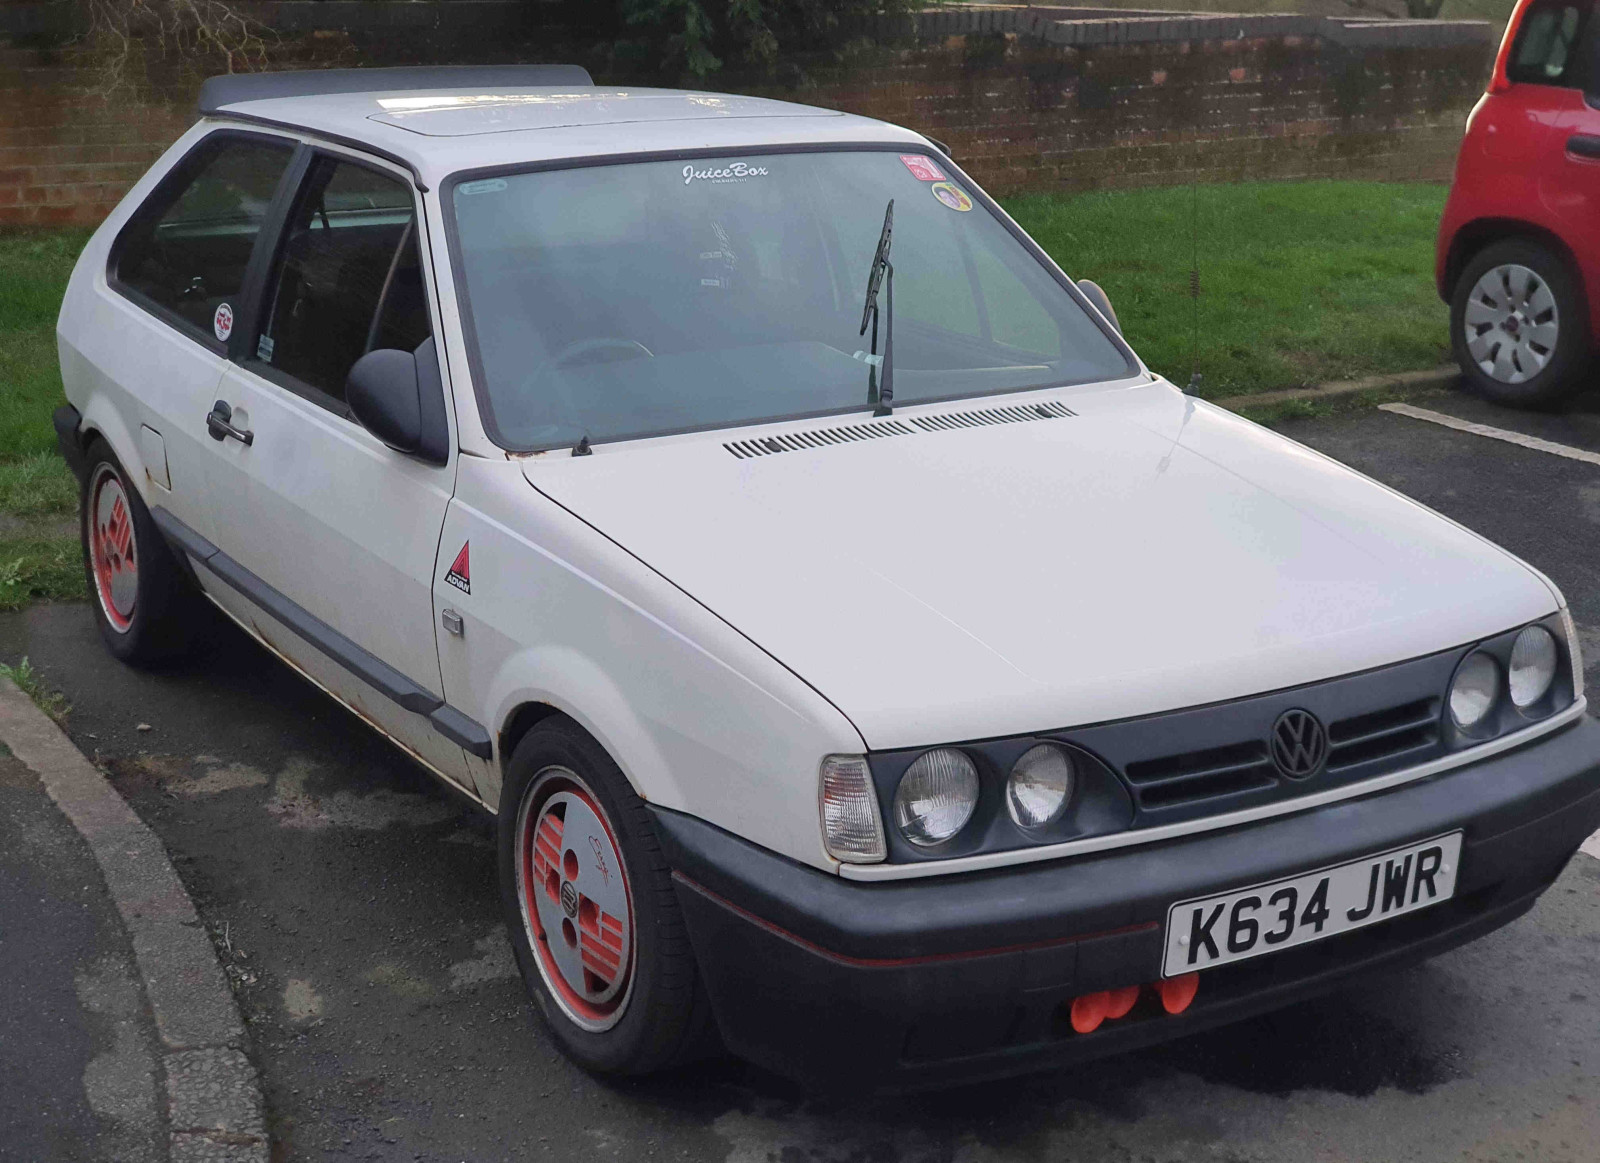
Model: 1993 Polo Coupe Genesis Engine: (WAS) AAV with an ABD Head (032Q Cam) on CBR600 F3 Carbs (Currently collecting parts to build a hybrid between a GK,HK and 2F GT lump, to run on Mikuni RS38 carbs) Suspension: GAZ Insert Shock Absorbers on the front, AP 60/50 Spring kit, H&R dampers on the back (for now) Brakes: VW11 Calipers, Braided Lines, new pipes front to back, Mintex M1144 Pads Wheels and Tyres: RG Erregi 14X6J ET33 wheels on Rotalla Setula RH01 tires in 185/50/14 Exterior Styling: Morette headlights and grille, Mattig DTM Cup Mirrors, Double stacked spoiler mod Interior Styling: Recaro Monza LS-C driver's seat, Genesis for the rest of the interior, GReddy 60MM peak warn water temp gauge, VDO 5 bar oil pressure gauge, 300 ish mm unknown japan import steering wheel, ICE and Security: Kenwood Z929 Head unit, 4" Alpine speakers in dash After years of lurking I decided to get on here and make a build thread of my journey with an annoying, but fantastic alpine white pile of cack. It all started a few years back when I needed to get a first car. A mate of my brother in law's had a MK2 breadvan at the time on P-slots, and immediately after seeing it in person one day, I caught the bug for Polos, and knew what I wanted as a first car. So when the time came, I set about trying to find a "good one" (I had no idea what I was getting into lol) and a MK2F Polo Genesis Coupe popped up on ebay of all places. It was alpine white, a bit rusty, but it was something I could learn on how to wrench on cars and stuff. A few messages back and forth with the seller, and a called in favour from my Dad's old workmate who now ran a recovery business later, and here it was! A little bit crispier than expected when it came to rust, battery tray was bodged together with some correx board and tiger seal, but not bad looking at it with my completely untrained eyes at the time. It even still had the charcoal canister on there! A few months passed, and I finally passed my test, but the problem was it was lowered at the time, so I had to call in said brother in law's friend who had the MK2 for help to change over the springs for standard ones, as I had absolutely no idea what I was doing. He arrived in an absolutely awesome lime green MK2 Arosa on Ronal Teddies! Anyways, long story short, we couldn't get the struts out, so he ended up calling his brother in aswell, and we managed to get the fronts done. It was quite hilarious seeing the polo sitting very high at the front but low at the back. The rears would be up to me to try sort out, as I wanted to give it a go anyways. Little did I know meeting these guys for the first time would lead me down the path of building this thing into something pretty cool! (More on that further on) After I got the rears sorted with ALOT of learning as I went, it still sat low at the back, but I managed to get the thing insured. The MOT was due, the first MOT I'd ever take a car to. I had no idea what to expect so I took it to a local garage to see whats what. The MOT tester was not pleased with the way it sat to say the least lol. All the steering arms, lower control arms were shot, the ball joints were knackered and the bushes were all donezo. The shock absorbers were also completely gone on the back. I had to sort this thing out, pretty quick.. I had just learned about AutoDoc being a thing, so I hopped straight on and went to town! New control arms, steering arms ordered, discs and pads. Now that leaves the shock absorber situation.. I had a look on here for the first time ever, to see what it took to replace them, and stumbled upon the best lowering kits thread! There I learned about the H&R kit, so to make the insurance slightly happier (thats at least what I thought at the time lol), I opted for the 35mm H&R kit instead of the 60/40 kit. A few weeks later and... everything arrived! I knew it was gonna be a big task for me to do this myself at that time, but it had to be done!


 1 point
-
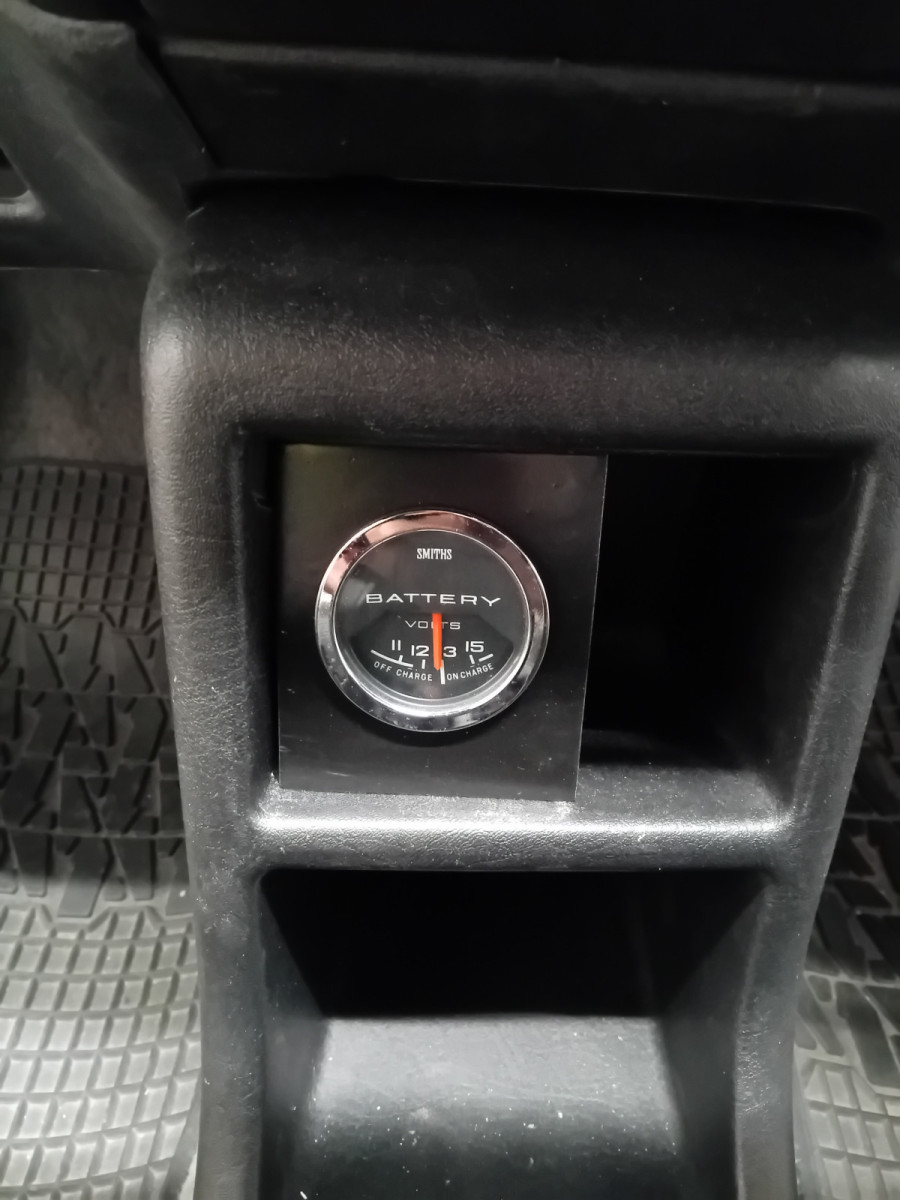
 I left as is but with inline fuse now. I made my own holder bracket etc. Thanks all for help.
 1 point
-
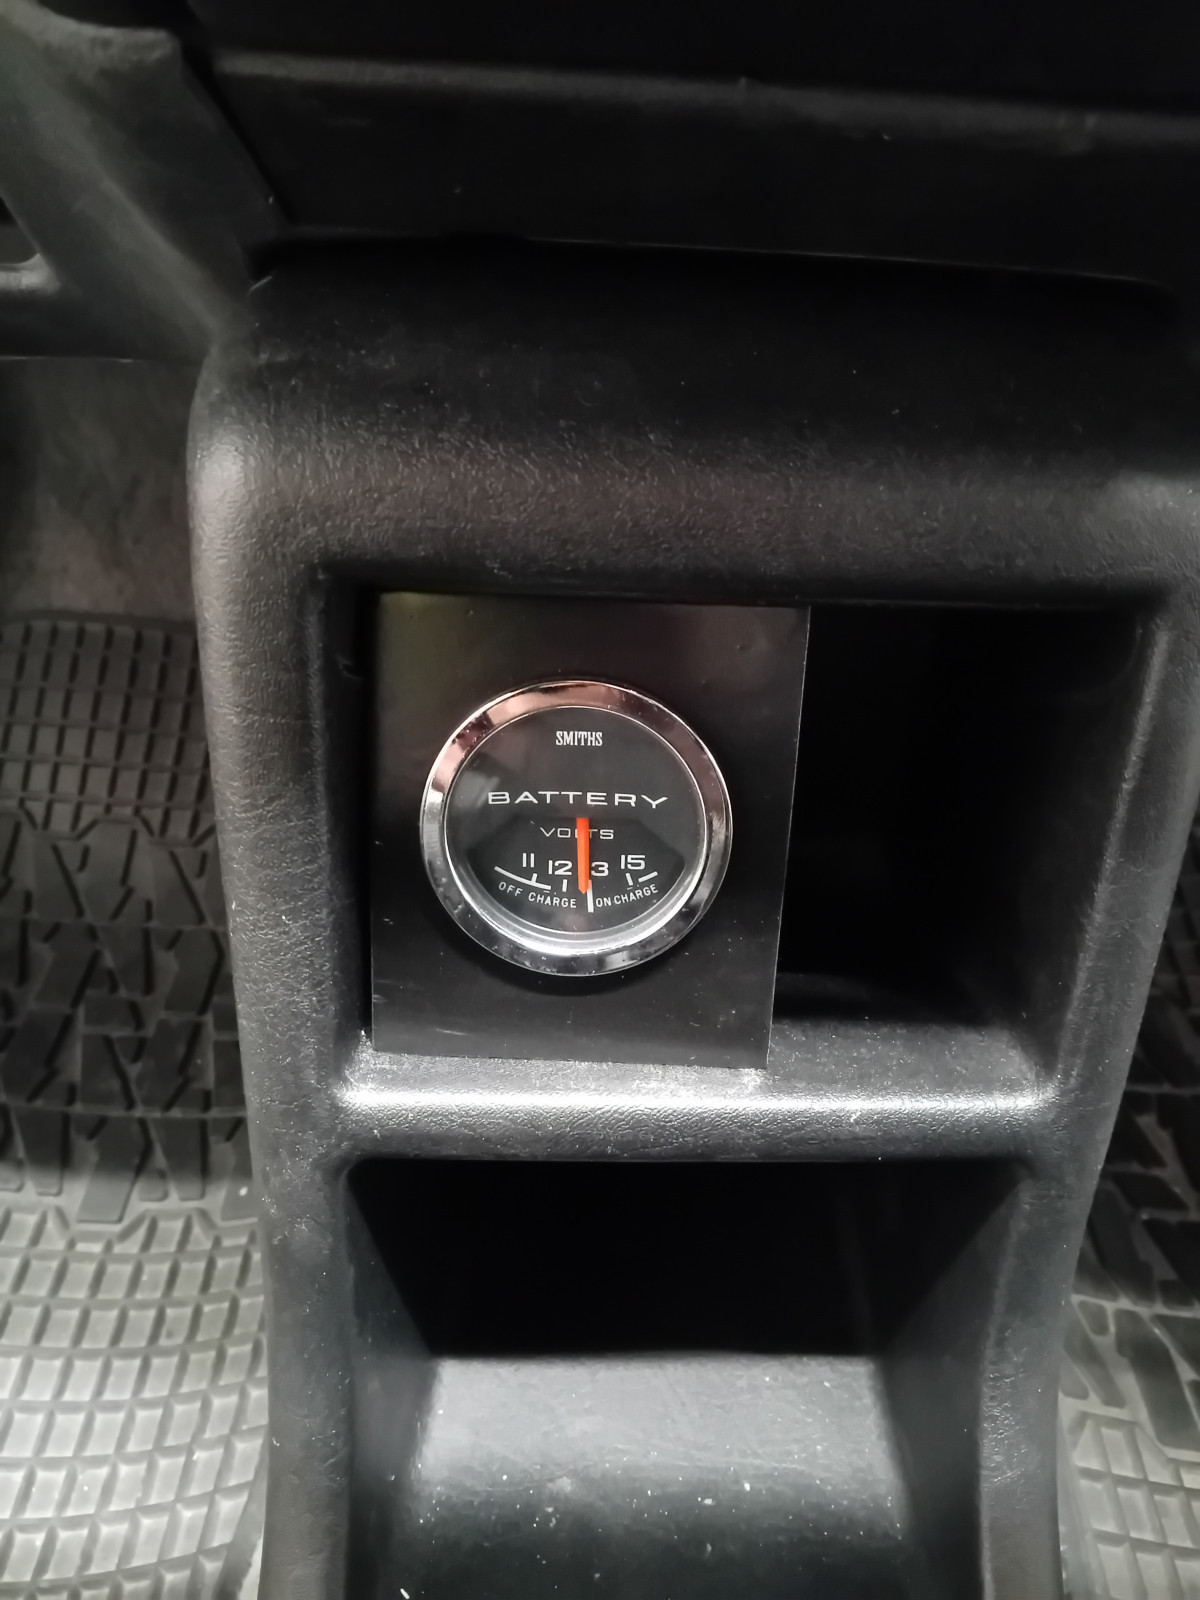
If the gauge measures 120 ohms (like the Smiths voltmeter in MG) it will draw about 0.12 amps max. Too much for standby, so yes switched live. Or fused, switched circuit like rear window, cigarette lighter. And even 30 swg thinwall cable would be thick enough (can carry 0.5amps).1 point
-
 1 point
-
 1 pointWell, the good old Haynes manual wasnt quite correct. There werent 4 bolts holding the hot air distributor in. After a chat with a mechanic at the local, formally VW franchise garage, he suggested taking out the pollen filter housing, as it was likely protruding down into the top of the fan housing. I took out the pollen filter housing and reached down into the top of the fan, gave it a push and it all came free. So there were only 3 bolts and the rest was being held in by the pollen filter case protruding into the top of fan housing. Also, the Haynes said that once the hot air distributor was out, you had to start splitting it in half to get the heater matrix out. Whilst looking at the top of the matrix, I noticed a clip in each side. I eased them back and lifted the old matrix out. Cleaned up the inside and hoovered out the old bits of foam, then just slid the new one into place, till the clips locked on. Now just the ball ache of refitting the dash and all the associated stuff.1 point
-
I deliberately run all my cars including my Mk2F Polo on stock dampers and springs, simply because of the state of all roads apart from Mways. My 924S was on stock Porsche springs and B4 dampers; this was the best setup i could find, but still bumpy. Lowering springs always have an increased spring rate so always feel stiffer. The higher your tyre wall is, the more supple the ride will feel, but you lose out with excess tyre roll in bends. My 2F is on standard steels and tyres, when i corner hard the tyres howl like hell and i'm basically driving it on the walls!1 point
-
 1 pointI'm currently running 175/60R13 NS-2Rs because my racing class only allows semi-slicks, and these were a more affordable option. However, once these tyres are worn out, I plan to switch to 175/50R13s for better acceleration.1 point
-
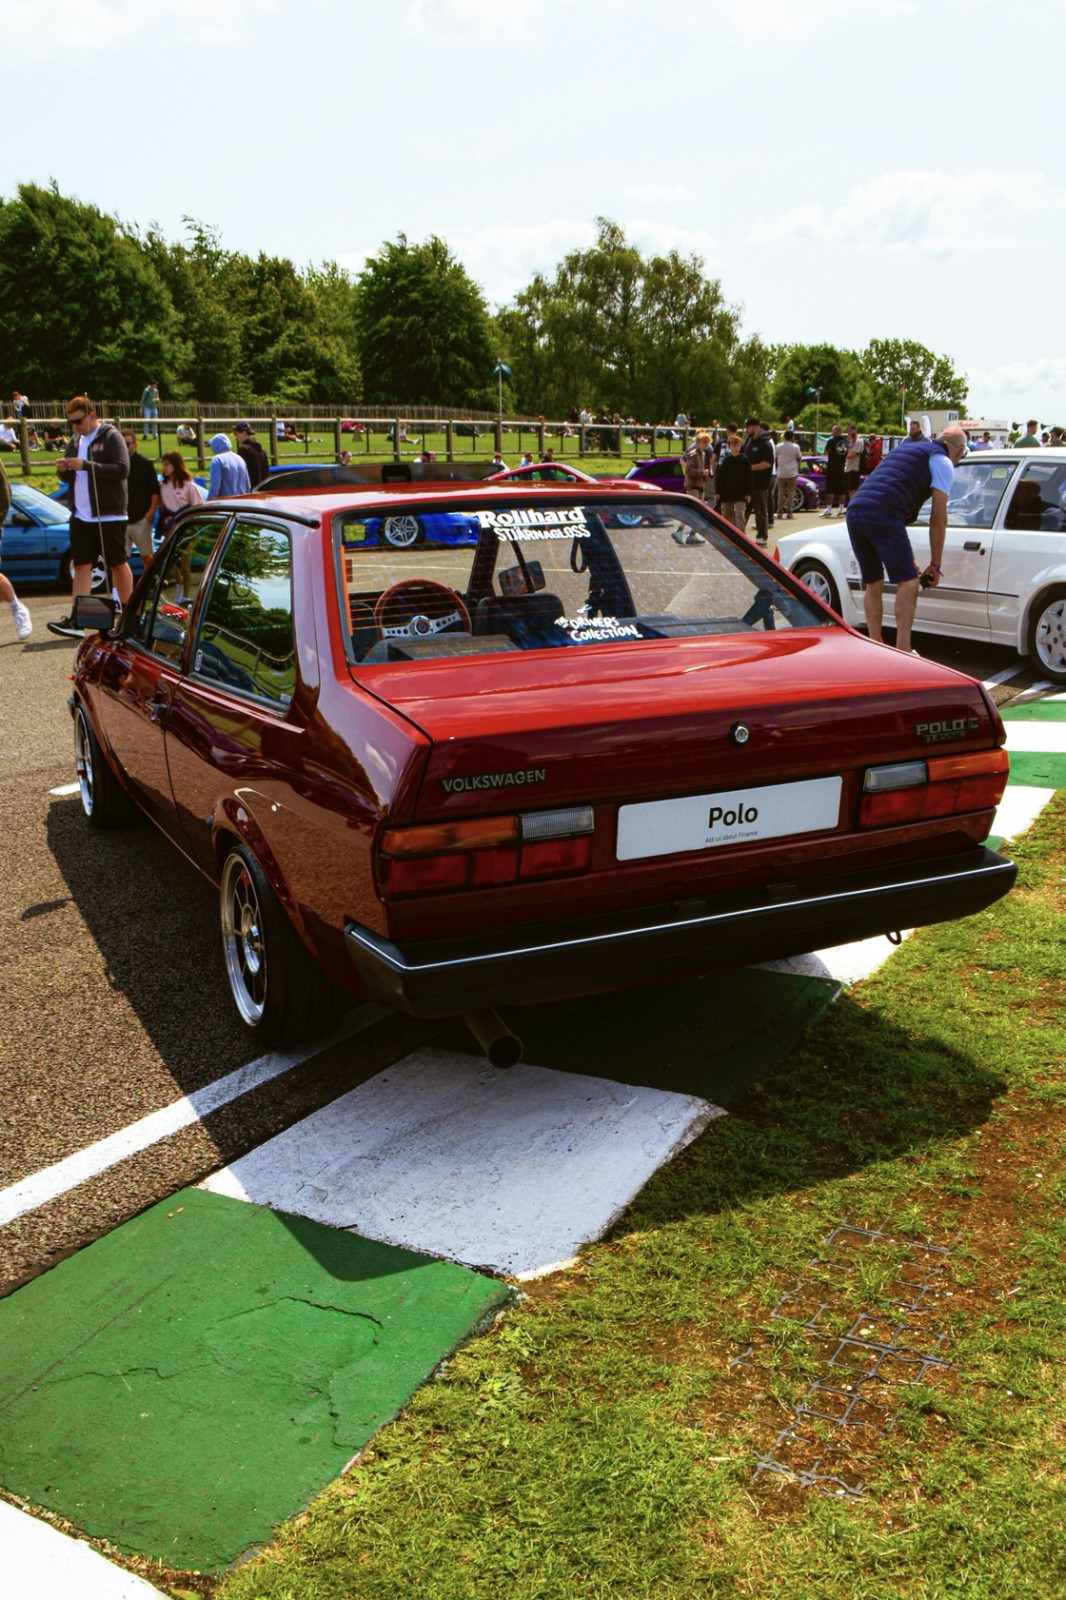
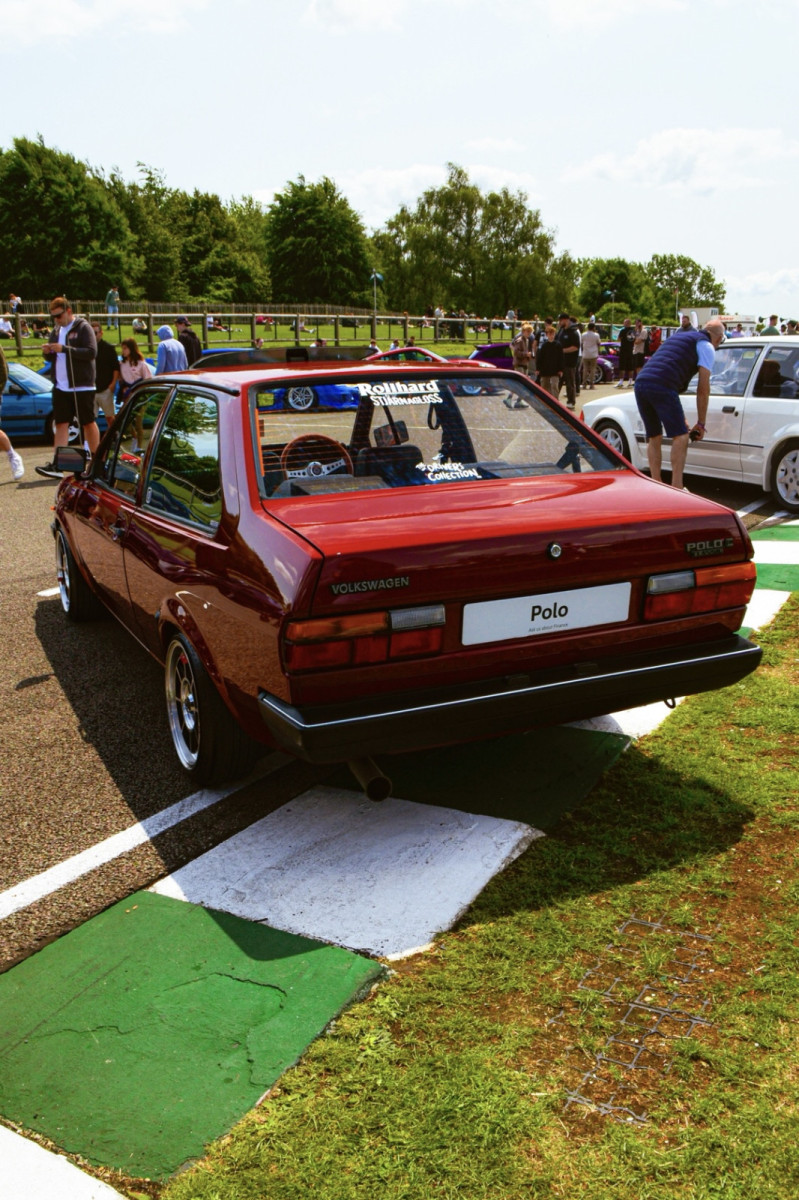
1 pointMy 1982 VW Polo Classic C (Derby) Saloon at Players Classic 2025, Goodwood.
 1 point
-
I met him once in a filling station in Grantham. Nice bloke, even if I didn't realise who I'd been talking to. Luckily he didn't notice what I was driving and go in for a re-make. 🤣1 point
-
1 pointIt's been a while! So to catch you up I did make it to one more show in 2024, Westside Show in September. A good mix of cars including a lot of Mk1-2 Golfs but also non-VWs in the relaxed setting of Chalfont-St-Peter cricket club. I was lucky to be selected as winner of the Polo class and received a very cool CNC aluminium trophy made by G23 Engineering featuring an OZ Turbo wheel design. Some photos of the Polo at Goodwood Festival of Speed made it into the Performance VW magazine October 2024 issue along with some nice words from the Editor. I still can't really believe that I was part of the Cartier Style et Luxe concours lawn, a very surreal weekend. Then I had a big Bucket List thing ticked-off with an article on the Polo and some of the other random VW stuff I've picked up over the years in the Performance VW magazine March 2025 issue! I'd held off doing any winter upgrades (and I have a few planned as usual) until this was completed and I think it neatly captures the build-era for me. I'm mid-way though this years changes which I plan to have completed by the end of Spring...1 point
-
Update on the issue of fuel/temp gauges malfunctioning. Putting contact grease on the gauge unit pins that insert into the headers on the cluster PCB seems to solve the issue. No matter how many times i clean the pins it keeps happening. More importantly i am now convinced that this issue affects the blue temp sensor supply voltage. Since applying contact grease to the pins as described the tickover characteristics are totally different, and for some reason the ignition timing tested as being 5deg too late. I put it into service adjustment mode and corrected this. It's impossible to verify these proposed supply commonalities using the drawings in the Haynes.1 point
-
1 point
-
1 pointThank you. I went with gsf in the end at a good price next day free delivery £115 on ebay cheaper than there online store.
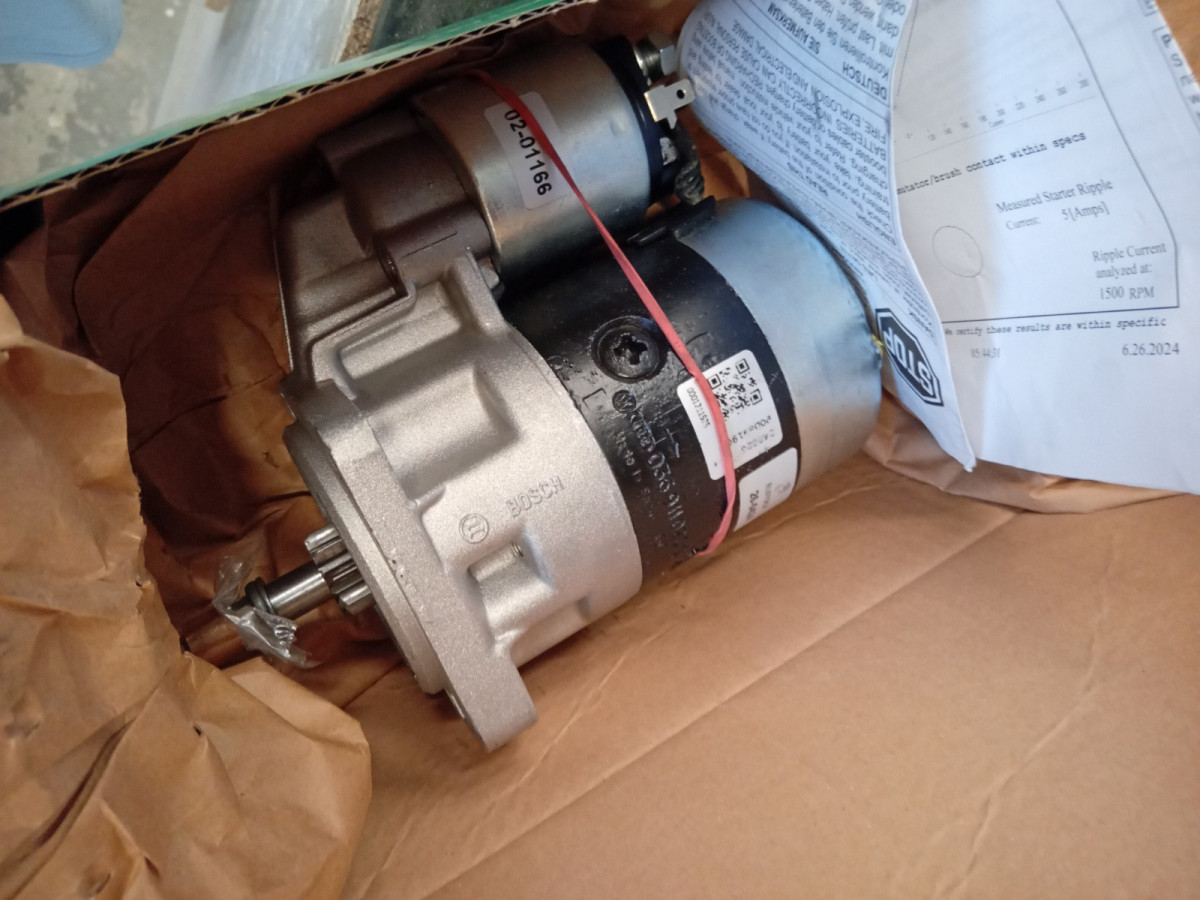 1 point
-
Many thanks for the advice! I am desperate to try anything that does not require dismantling the carb, although I already bought the set of gaskets. Thanks for the tip with the idle, this sounds very plausible! The engine went slowly, it's been lacking power for some time, now it pretty much refuses to start. Anyway, now I've got my weekend sorted by the sound of it!1 point
-
If it's obvious which connector positions the wires came out of, I wouldn't worry which goes where. A thermoswitch won't care; nor will a thermistor.1 point
-
 1 pointYeah I have the AVY 1.6 16V H beams and the AVY crankshaft. But wanted to get another set as did not want to mess with my current setup. Rosten out of business now. Just didn't know which pistons to get but obviously Bar-tek link looks most likely. 20mm wide conrods with 17mm bronze bushing.1 point
-
 1 pointI think you might be onto something with the pedal bracket bearings as the pedal does have some lateral play in it. I will have a look around for some as I don’t imagine they’ll be very expensive1 point
-
1 point
-
1 pointA bit of spare time has allowed me to do a few jobs on this recently. The load compensator valve, in tank pump, radiator plus the cam belt and water pump were all replaced. new radiator. Cleaned the intercooler while it was off. Going back together.


 1 point
-
This is for AKK/ANW engine codes 'from October 1999' D101 connection originates from ECU pin 62 (shown on another page), possibly a 5V rail? Also goes to various other sensors. The brown/blue wire on pin 3, going to ECU pin 67, appears to be a screen connection, judging from the circuit symbol of the crank sensor G28. Not necessarily directly connected to chassis earth, but might be within ECU.
 1 point
-
1 pointAn air leak in the exhaust (after any sensors) could be pulling in fresh air and diluting the tailpipe measurement, A leaky vac hose in the engine bay, like the brake servo one might be giving false air. Doubt it would be ECU. Might be able to watch lambda sensor activity on VCDS to see if that appears to be switching sensibly rather than at one or other limit constantly? Catalytic converters only do their job fully and only survive longterm when the mixture is maintained near stoiciometry, which is why tailpipe lambda must measure within tight limits for MOT. CO2 might be lower with leaner mixture, but NOx, HCs and particulates will probably go up instead.1 point