



Leaderboard
-

dvderlm
Club_Member14Points5340Posts -

Yeti
Club_Member9Points12316Posts -

mr brightside
Forum User8Points177Posts -

giaguaro
Forum User7Points37Posts
Popular Content
Showing content with the highest reputation since 09/16/25 in all areas
-
 Anyone else think this reads very spammy as a first post? Just lacks a link to the wonder product to be completely obvious.3 points
 -
Definitely, yes, but I'm not a mod any more, so I'll just leave it at explaining a better option than the product in the spam.2 points
-
2 pointsIt's an ECU bracket, on a car that doesn't have an ECU. VW were planning ahead.2 points
-
 2 pointsUPDATE: I spent an evening sanding the crankshaft and conrod journals, getting them to a state where they weren't smooth to the touch but they were operationally smooth. Plastigauge read that they were still within clearance spec, and an old-timer on a youtube video said not to worry too much about indents running around the bearings, as oil would simply fill those little gaps (not ideal, but not a show-stopper). So I reassembled everything, and the car has been running smoothly for a week now. This weekend, I'm going to drop the sump and verify the state of the oil, conrod/crankshaft play, and the status of the bearings. Looks like what VAG said was impossible, not giving any information in the service manual for bearing replacement saying that as soon as you even undo the crankshaft bolts the engine block has to be replaced, is in fact doable—at least in the short term, as I now need to monitor for longevity—but so far so good!2 points
 -
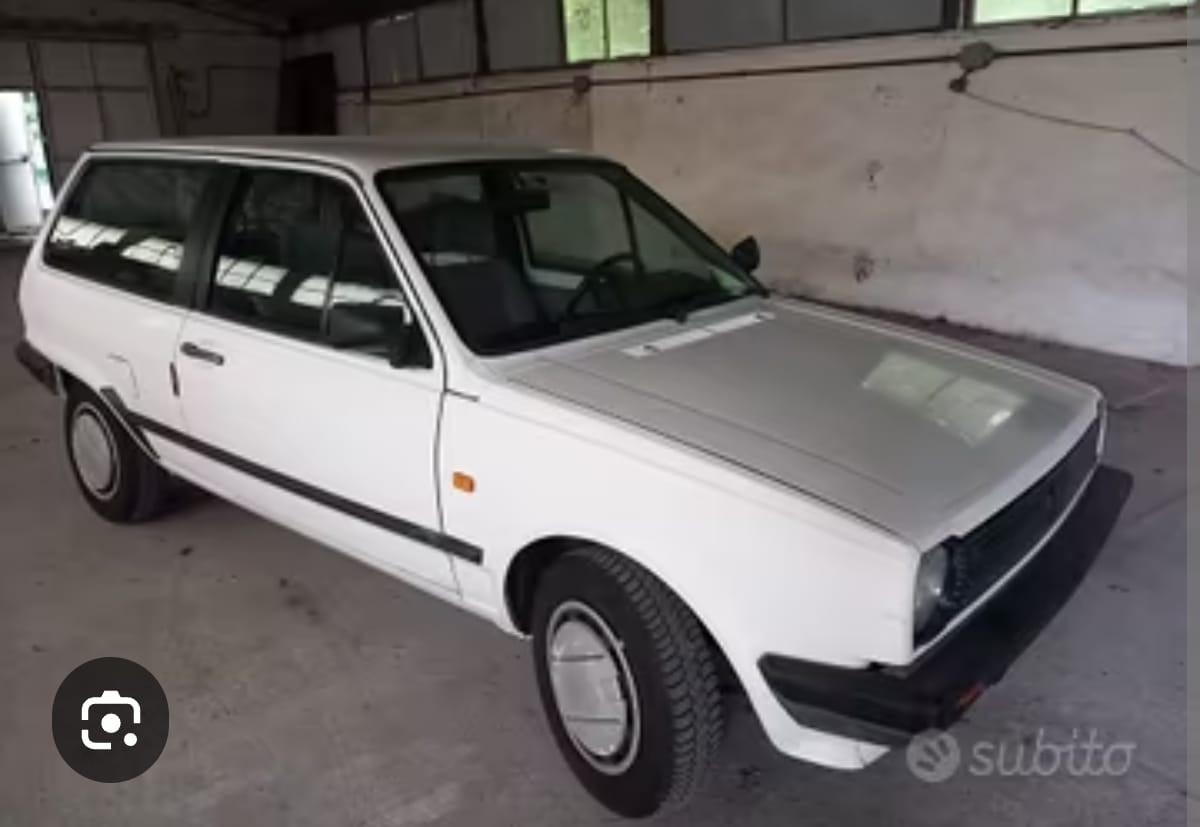
2 pointsHi to everyone and sorry for my English. I did buy the same exact car i had 40 years ago and i am here for a lot of things i wasnt allowed to do in my 20s :)
 2 points
 -
 2 pointsThere will be an ignition on supply on the heater blower switch that might be easier to use rather than that lead from the fusebox and yes I would still protect it with an inline fuse2 points
 -
 2 pointsRemoving Polo's wiring Removing polo's ECU essencials and ecu peripherals. Also removing fused protected power and a set of +5VDC and GNDs that power engine sensors. ECU peripherals ECU essencials This was paired with my speeduino, so I had to remove both. Fused protected This cables go to the inside of the car some are fused others not. VSS (vehicle speed sensor) is here. Injectors +12VDC fused cable is here. A spare +12VDC is also here and ignition protection, also +12VDC. A good set of +5VDC and GNDs are here also, all going to be inhibited.2 points
 -
 2 pointsI'm back to say that Pete has performed his magic trick again. Front windows are now functioning again. What a relief! Thank you Pete, and thank you clubpolo. He and this space are typically what make the Internet a formidable tool – experts ready to help, clearly human testimonies backing up what the experts say, searchable and referenced archives. Social media, Chat-GPT and Discord servers were of no help whatsoever!2 points
 -
 1 pointHi everyone! I'm from the Canary Islands, Spain, and I've just bought a VW Polo Mk4 1.4 60 hp. I'm looking forward to learning more about the car, sharing my experiences and getting to know other Polo owners here on the forum. Thanks, and nice to meet you all!1 point
 -
 1 pointHave been browsing the forums a bit more to see if any one has posted similar issues. After talking with a friend, they said it maybe the thrust bearing but did find a post confirming its the gearbox (same part code as mine, same whining sound when under load). Thankfully they also posted a thread about a replacement box so know what codes I am looking for, so will do that in the parts forum, if I can find a box in the uk from a polo fan instead of a scrapper from europe it would be worth the risk/cost! Thanks for the reply, GT breadvan project sounds ace! Glad to hear you close to MOT, will keep an eye out.1 point
 -
1 pointI like it mid-way between floor and end of travel. 6mm of free play at the lever end says the always reliable caretakerplus https://www.clubpolo.co.uk/topic/287595-clutch-biting-point-help/#findComment-23590451 point
-
 Thanks guys! The Formel E seems to have the low end of the high end components. It does have the electric cut-off valve. I tried it, it clicks nicely. Thanks for the diagramme dvderlm! Unfortunately, I can pretty much recite it with my eyes closed by now but this is the right one, indeed! Very helpful assignment of the two vaccum connectors on the side - explosion A. I found a description bun noone explained which one was which :-) I am about to replace the carb mount. I bought one but I have the niggling feeling it's not the right one. Just ordered another one from heritage parts. Once it arrives, I'll take the carb all apart. Again... Need to check the throughput of the accelerator pump, as well. Split base fits the bill, will see. I only just realised what split meant - it splits horizontally between the upper and lower plates; I was looking for vertical cracks. TBC1 point
 -
Thanks for the suggestions! I think after the heatwave I'll take the carb out, again, and may replace the mount. I was unable to remove the main nozzle during the last rebuild, may give it another try. A spacer came with the rebuild kit but I haven't braved adding it. I guess if the mount's bad, the spacer won't solve the problem. I need to check the throughput of the accelerator pump, as well as the fuel pump. It's turned into a bit of a saga this one...1 point
-
 1 pointCrazy 20 years!!! I still have Bluey just hasn't moved from the comfort of the garage for 3 years. I very much miss the polo show and seeing all my polo friends, although I don't especially miss the BBQ in this heat 🥵1 point
 -
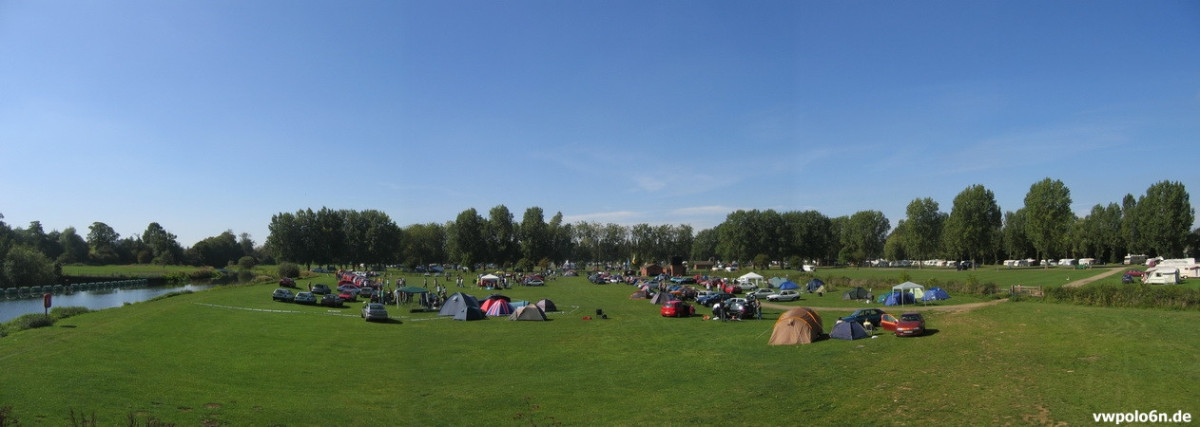
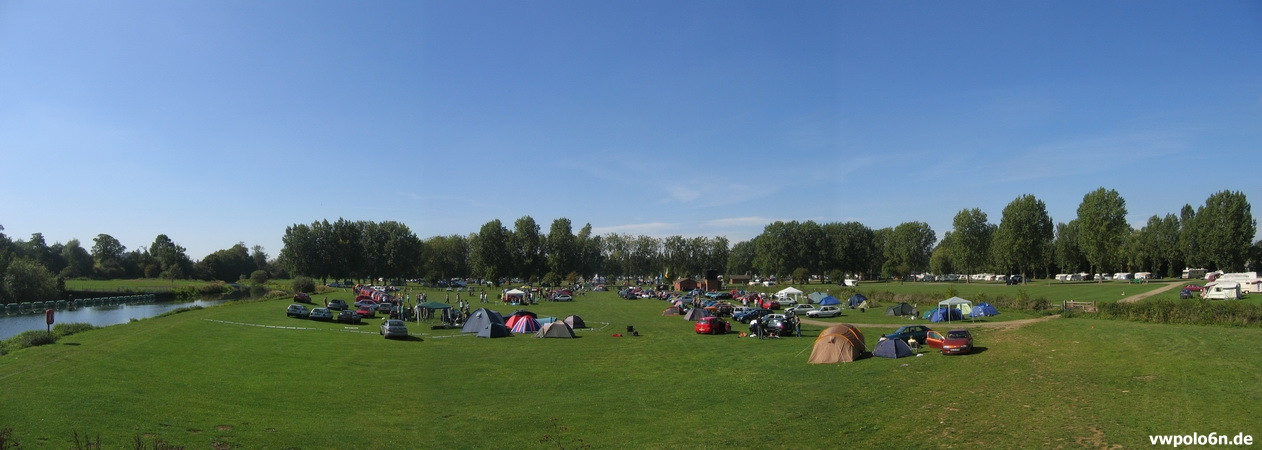
 1 pointnew reply after almost 20 yrs... PS06, folks.... next september 20 yrs ago.... means we're all 20 yrs older. What great times.... the smartfone wasn't available already... what did we do with our free time? being bored, talking to other people? i have absolutely no idea.... its sooooo long ago. we had electricity there or generators to power our cooling boxes and kettles... today only power for our phones and pads is essential. Beautiful time at the billing 2006. Thx to everybody who was there and those who organised it.
 1 point
 -
 1 pointHi folks, thought I’d sign up and introduce myself. Have been using this forum since buying me bready from bangers n cash in Feb 26 (900 hammer price) and want to thank you all for your knowledge and experience which have been invaluable in bringing it back from the dead. 1990 metallic silver grey, 1043 HZ, pierburg1B3, 72k miles. Arrived with exhaust blowing and held on by bungee, would turn over but not run, plugs black as coal and at least a litre of petrol in sump, petrol tank leaking at neck, grinding gears and jelly brakes. Filthy inside out and underneath. Ordered new tank and flushed and replaced all fluids belt filters plugs dizzy cap and leads, still couldn’t get it to fire. Due to petrol in sump assumed was fuel pump issue. Replaced that, found no fuel gettin from pump to carb. Noticed that line from pump to swirl pot had colllapsed so replaced that. Still not firing, found outlet from swirl pot to carb was connected to tank return line. Fixed that, got fuel in and fired up. Running richer than Elon Musk, whatever I did with idle and mixture appeared to have no effect. Found litre of petrol in sump again. Took carb apart and found tiny piece of fibre glass filler (which prev owner had used in tank) preventing needle from closing. Removed that, much swearing, new oil and filter, and got it running at last, adjusted carb. New fuel pump stopped working put old one back on. Put new tank in, can only just get fuel pump gun in as neck sits quite high up in flap. Bled back brakes front bleeders not shifting (work in progress) Fuel gauge not working, removed sender, took apart, cleaned up and found thin copper strip had snapped on it, bent into shape so stays together by tension and now works perfect. Found exhaust found didn’t fit properly, was about 1 ft out of alignment between central and rear mounts, so had to bend the long part by 1ft by bracing against soles of my feet like I was rowing a boat. Patched up and mounted exhaust and it passed MOT 2 week ago, emissions v low, various advisories. Luckily body fairly solid and not in bad nick, electrics ok. did some filling and painting, more painting to do. Cleaned it polished and put new plates on. Drove it round Peak District last weekend, even more fun than I remember it being when had one as a kid, especially when trying to stop. It’s been like a 4D puzzle, thoroughly enjoyed doing it up, thanks for all your help Prev owned a 68 beetle, I’ve also currently got a 2018 Golf, 1980 T25 and 1996 T4 and clearly some sort of mental illness. Polo piccies.pdf1 point
 -
1 pointHi bled at junction of hose and caliper as suggested and brakes now much firmer, will do nicely til I get to replace caliper and hoses1 point
-
Waded in on this one recently. The right bellows with the very snug end will go over with a lot of persuading. You have to stretch it out in hot water and really get stuck in. The right part has a shorter compressed length, I was worried about the alternative that goes on easy popping off at the small end when compressed. I put the CV grease on the rack teeth not under the bellows. You have to fart about getting the sock off etc. I nipped the adjuster screw up a bit too.1 point
-
1 pointI’ve just seen a post on Threads the guy heated the bleed nipple up with an induction heater and it wouldn’t move so he heated it again and then while it was still red hot he rubbed a candle around the thread and it then released with minimal effort 🤷♂️1 point
-
1 point
-
1 point
-
1 point
-
1 pointShame the distributor hall sender socket is damaged. I may be mistaken but the block oil breather pod and cam cover breather look like they are full of mayonnaise, which would indicate a head gasket failure that caused oil and water to mix, OR, that the car was only used for short journeys. Might be fine. Might be damaged from overheating.1 point
-
1 pointAll about the same level of difficulty. Mechanically and electrically. Don't underestimate how hard it is to safely remove an engine, undo driveshaft spline bolts or lift a gearbox back onto the block. That said, Polos are nice to work on. I'd fit an HK and get it running with a Weber 32/34 DMTL kit conversion 1887097400. (Then move to bike carbs if this is not enough power... it will feel much more than you have now, and brake upgrade will be sensible... though I assume you have left hand drive with a brake servo boosted by vacuum from the inlet manifold. UK right hand drive Mk2 do not because of the battery location and firewall profile or maybe cost, lower power. No GK sold in Great Britain). The more complete donor engine you can find with all accessories the easier it should be, or you may find yourself needing to source strange things like different alternator wiring connectors or different thermostat housing, or coolant temp sensor, gearbox reverse switch for example.1 point
-
 1 pointI replaced the indicator stalk arm and it’s possible that may have blown the fuse - just gonna keep and eye on it and ensure all is OK thank you for your comment1 point
 -
1 pointThank you after much fettling last night all is now working as it should replaced a fuse (I could swear it was fine when I first check it ) but started a trace process and found the blown fuse! Thank you for taking the time to reply1 point
-
1 pointHere in Italy we have no more specialists 😔perhaps I will find a 1.3 gt instrument with rpm on ebay?1 point
-
1 pointI changed my car's whole speedo module when I moved from Germany to have miles and km for re-register in UK. (original showed optimistic 200 kmh topspeed... I did not know it was a rare item back then. oops https://www.volkswagen-classic-parts.com/catalog/en_global/part/867957031A) So a second hand one might work for you, if you can find one, and if you don't care about the change in odometer reading. Nobody cares if it increases it seems, maybe insurance company if you have agreed a per year limit. I think I added 7000 miles in one afternoon.1 point
-
 1 point
 -
 So having replaced both the cam and the tappets on an intact block, first at tdc use a whizy gun to loosen the cam nut, this way you don't have to take the black plastic off, then slide the cam belt off after you've loosened the water pump and spun it to release the tension, next cam bolt out, then knock off the pulley, undo the caps and cam out, at tdc with the engine not moving the valves wouldn't go far even if they touch a cylinder, next pull the tappets out and slide the new ones in, to fill with oil literally bath of oil and compress the tappets with your fingers, then fit cam, ensuring its at tdc and fit the caps, then the pulley, cambelt on and tighten, then spin engine by hand to ensure clearances listening for strange noises, and ensuring no tight spots, refit rocker cover and turn over with king lead off to ensure nothing untoward, provided everything checks out start it and ensure its sounding healthy before going for a jaunt, if you're still uneasy take the head off.1 point
 -
 1 point
 -
 Thanks for the info @Pete1. I went back to basics and bled the cooling system first, and found that the input heater hose got hot and the output stayed cool. I figured it was the heater core, so I took the hoses off and flushed it out with water, reattached the hoses and now I have heat, enough at least for those mornings hovering around 0. Am pretty sure I need to drain the whole system and refill it though, there was a LOT of gunk in there.1 point
 -
1 pointThanks @dvderlm . Oil distribution looks ok (prior to last starvation event of course) in camshaft housing. My plan is to refinish all journals on camshaft by hand (damage is manageable with sandpaper wrap and polish while in-engine), run seafoam through all oil passages using an external pump, blow air through all oil channels, clean out oil ports on camshaft and seats, replace bearings, replace oil pump, fill with oil & new filter, test oil pressure. if ok, run for several minutes, remove sump, check for any residual metal shavings, remove cylinder 1 conrod cap, check for any immediate wear, then if ok run for a week or so, then recheck. At this point, I can only assume the engine had oil starvation before we got it and I created this event myself by not replacing the bearings when I had it open previously to change oil pump.1 point
-
1 point
-
 1 pointHello! I have polo mk2 with weber 32/34 dmtl conversion And i am wondering what is good jet sizes Currently i have Swapped 57 idle on primary and its perfect idle now👌🏻 On my polo i have 4-2-1 exhaust manifold and custom exhaust, 268 shrick cam, Ram air air filter, and intake manifold is empty and good flow. Also swapped mk3 polo 5 speedgearbox But i am thinking about main jet and secondary sizes. Idle main 57 and Sec is webers orginal cant remember Main jet is 110 and sec 125 Main Air correct 155 and 185 Emulsiontube F22 and sec f30
 1 point
 -
1 pointNo, DCD would need a custom adaptor plate to be made so it can fit the existing inlet manifold in airtight manner. And larger hole made in the top of the inlet manifold to match the twin choke holes. A carb's float bowl should ideally face towards the front of the car, but DCD would have to be rotated 90 degrees on a Polo with transverse engine (like most front wheel drive cars) versus its common mounting on inline engine. I'd suggest fitting it so the secondary tube is at the rear position for enrichment when accelerate. I wonder whether this could be persuaded to fit. Depends on the bolt pattern of the ICF or DIC used on Fiat 850/1000 and the spacing of the through manifold rods in the Polo. And might be too high without a bonnet bulge. Classic Performance PartsABARTH 850 1000 OT FIAT 850 INLET MANIFOLD FOR WEBER DCD...Classic Performance Parts - ABARTH 850 1000 OT FIAT 850 INLET MANIFOLD FOR WEBER DCD1 point
-
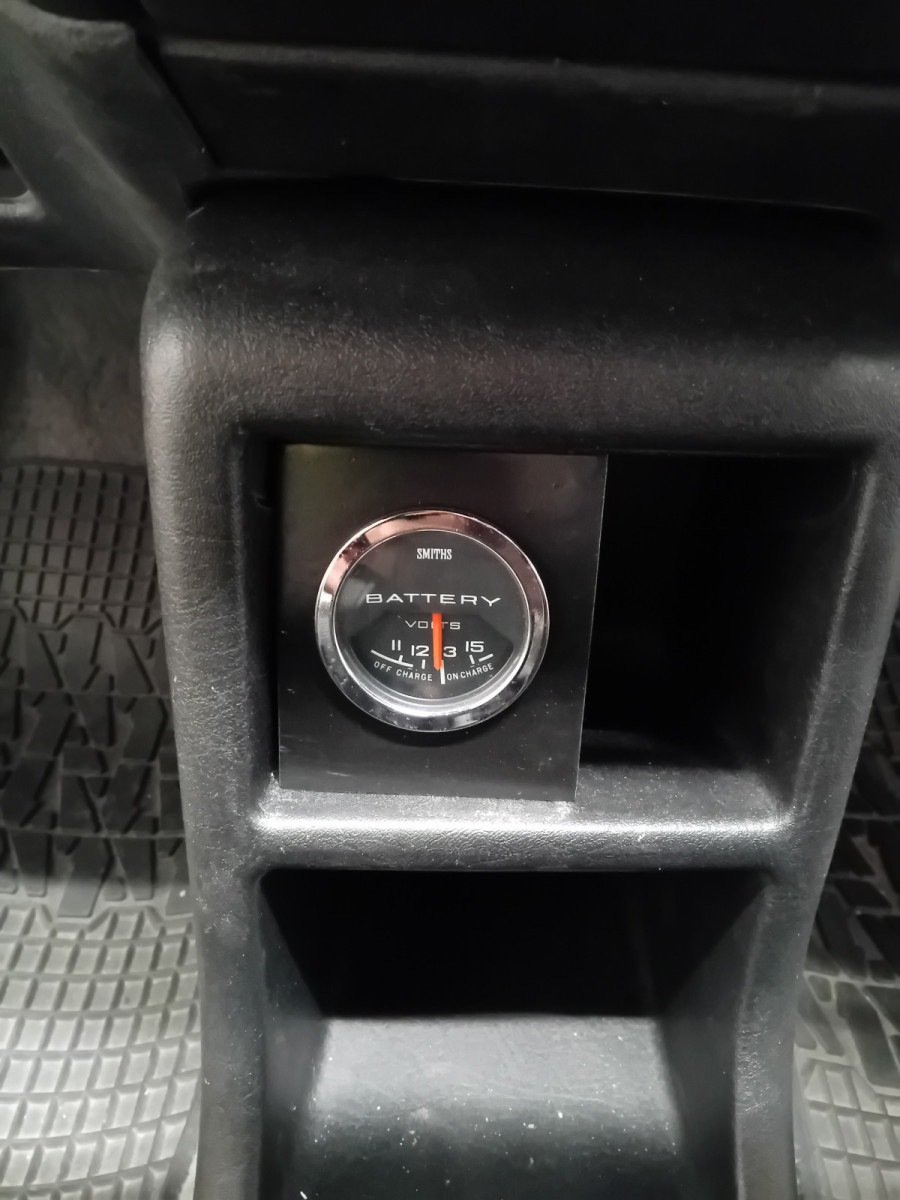
 I left as is but with inline fuse now. I made my own holder bracket etc. Thanks all for help.
 1 point
 -
I don't actually have a cigarette lighter. Interior light, Cig lighter & Radio are fuse 11 on mk2. So not sure now, sorry. I thought key needed to be at Acc position for radio but it remembers stations when key removed. So it must have both switched and standby feeds. And interior light does not need key. Will cig lighter work without key?1 point
-
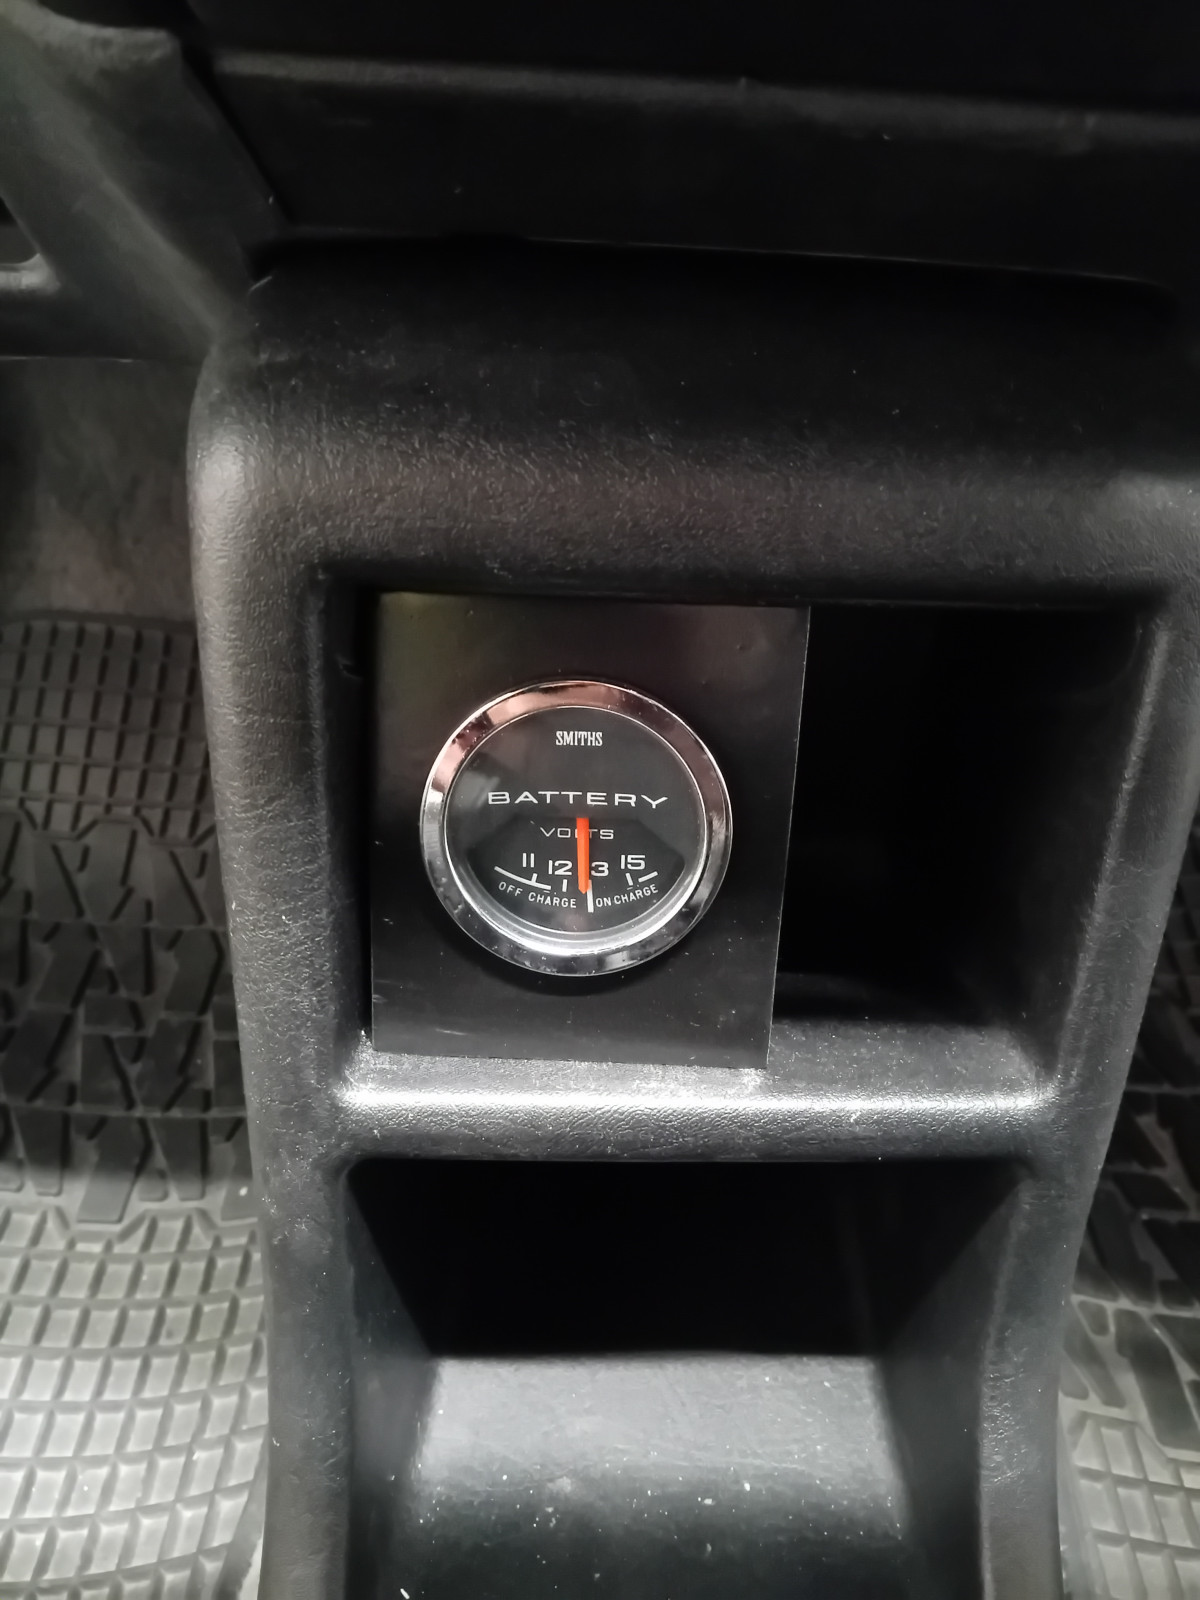
If the gauge measures 120 ohms (like the Smiths voltmeter in MG) it will draw about 0.12 amps max. Too much for standby, so yes switched live. Or fused, switched circuit like rear window, cigarette lighter. And even 30 swg thinwall cable would be thick enough (can carry 0.5amps).1 point
-
I'd use an ignition switched live, otherwise it'll drain the battery. You shouldn't need a heavy wire, but do put a fuse in the circuit because old gauges can do unexpected things. Whereabouts are you planning on fitting it?1 point
-
1 pointYes, further away from the body opens it further at stone cold, thus increasing the time it takes to close fully. RPM at this setting is >2000 when you fire it up, and most of the usual splutter goes away. Worth knowing, and thanks to Tim at Rottele Racing in DE for raising this to my attention.1 point
-
 1 pointThanks. Gone with Green stuff, yet to fit them and see how it goes ?1 point
 -
 1 pointWell, the good old Haynes manual wasnt quite correct. There werent 4 bolts holding the hot air distributor in. After a chat with a mechanic at the local, formally VW franchise garage, he suggested taking out the pollen filter housing, as it was likely protruding down into the top of the fan housing. I took out the pollen filter housing and reached down into the top of the fan, gave it a push and it all came free. So there were only 3 bolts and the rest was being held in by the pollen filter case protruding into the top of fan housing. Also, the Haynes said that once the hot air distributor was out, you had to start splitting it in half to get the heater matrix out. Whilst looking at the top of the matrix, I noticed a clip in each side. I eased them back and lifted the old matrix out. Cleaned up the inside and hoovered out the old bits of foam, then just slid the new one into place, till the clips locked on. Now just the ball ache of refitting the dash and all the associated stuff.1 point
 -
1 pointhttps://ebay.us/m/XvgN9E I’ve used these in my Ibiza, Octavia, Touareg and now my A61 point
-
1 pointDon't use lithium grease, make sure its molybdenum- the dark grey stuff.1 point
-
1 point
-
1 pointThis is the kind of build I want (https://www.youtube.com/watch?v=FkhNcL4gZ6g).1 point
-
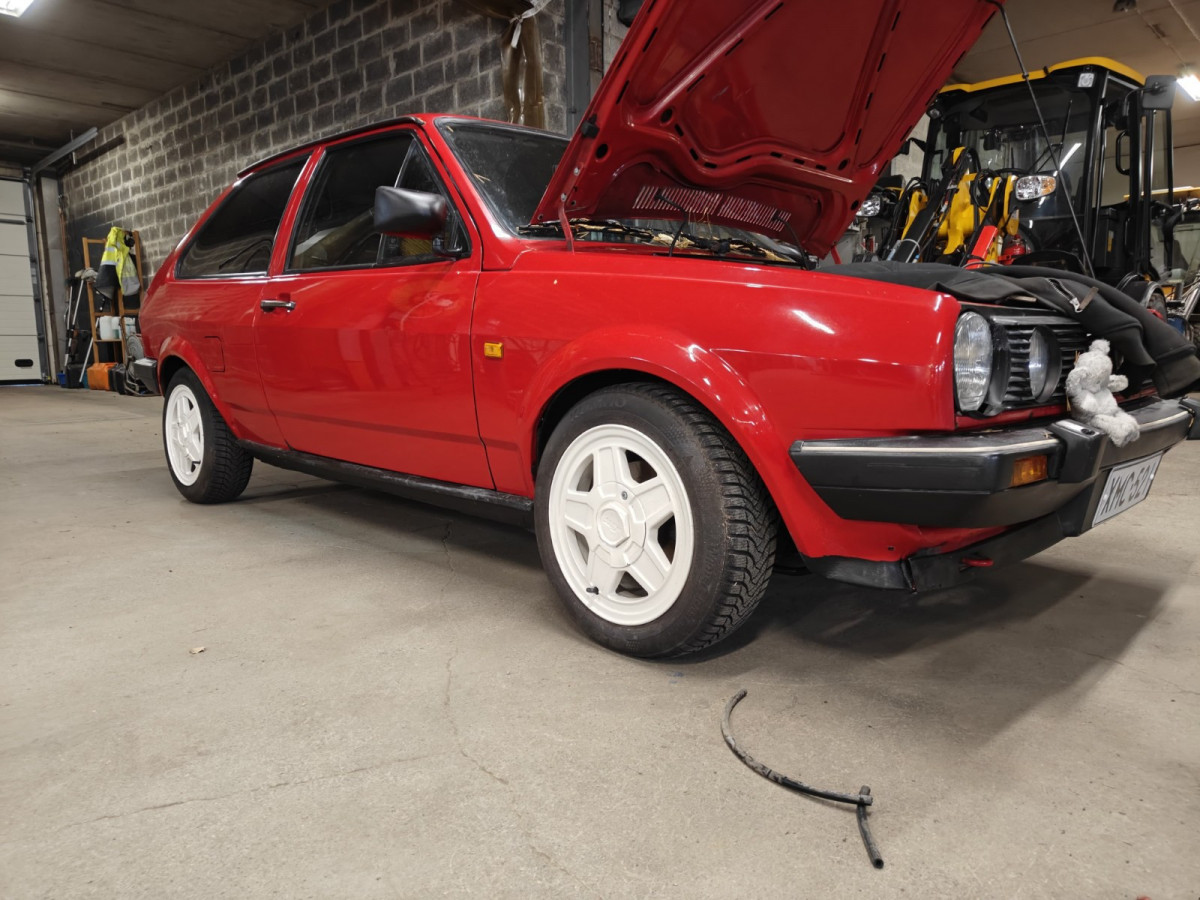
 1 pointHi there, new owner from the North of France, just purchased a 1992 Polo Fox Coupe which has been off the road for a couple of years. Usual story, bought from an old lady by a young enthusiast who lowered it with coil-overs, replaced the 1.0 injection block with a 1.3, fitted some BMW (I think) wheels then ran out of time, parking space, money. Fast-forward three years, car passed on to seller to pay off debt, no CT (French MOT) etc, so hasn't been on the road since and was sitting unloved when we found it with the original engine, box, suspension, etc. in the boot, and the rear tyres rubbing the arches. A quick check for body rust and a longer look at the paperwork and I negociated the price down to €1000, and put it on the trailer. Here it is after a quick clean (and emptying the leftover parts into the garage) The first job will be to get it through an MOT - obvious jobs are a rusty silencer, a steering knuckle and a good service and check of brakes, etc. After that it'll need a longer gearbox, but there was one on the front passenger seat, there's a crack in the top corner of the windscreen, the rear tyres are going to rub if it's heavily-loaded, etc. I've always run older cars - my dailys are a an '81 Golf 1800 Cabriolet in summer and a W124 Coupé in Winter, and I've got a number of other VWs, BMWs and Mercs lying around the place, so I'm not scared1 point
 -
1 pointOver a year later, and a few thousand kms without mishap. She's got a home-made roofrack and a new backbox: Not really getting used as much as I'd like but then I have too many cars... Robin1 point
-
1 pointHi there, six months later (!) I've finally got the paperwork sorted. France is the country that invented bureaucracy and this car was no exception, with a string of former keepers who shuffled it around without using it or declaring ownership... It now has a 5 year MOT (as a classic) and is insured and ready to go. The gear linkage needs attention, as do a few minor details, but most of all it needs using to check everything is OK. Wish me luck! Robin1 point
This leaderboard is set to London/GMT+01:00